Boost Conversions: Remove Unwanted WooCommerce Checkout Fields
Table of Contents
- Option 1: Removing fields with the WooCommerce Customizer
- Accessing the WooCommerce Customizer
- Customizing the checkout fields
- Option 2: Removing checkout fields using the block editor
- Option 3: Removing fields using the Checkout Field Editor plugin in the legacy editor
- Option 4: Disabling checkout fields with CheckoutWC
- CheckoutWC: Your best choice for removing checkout fields in WooCommerce
Be honest: How often have you abandoned a purchase because the checkout felt more tedious than filing a tax return?
You might not realize it until your cart abandonment rates start soaring, but a cluttered WooCommerce checkout process could be scaring away potential customers. Luckily, there’s a simple fix: remove unnecessary fields!
Fewer fields mean less time and effort to complete a purchase, making the whole experience more enjoyable. Plus, your layout will be clean, straightforward, and easier to navigate, especially for folks shopping on their phones (and that’s a lot of us these days).
However, simplifying your layout doesn’t just make life easier for your customers (although that’s a big win). Collecting only the very essential data makes your operations easier, too. It streamlines data processing, improves accuracy, and can help you stay compliant with regulations like GDPR and CCPA. In this case, less really is more.
Ready to optimize your checkout and watch those conversion rates climb? In this article, we’ll explore four effective methods to remove and customize checkout fields in your WooCommerce store. Whether you’re comfortable with code or prefer the simplicity of plugins, we’ve got something for you!
Option 1: Removing fields with the WooCommerce Customizer
Don’t want to dive into code? The WooCommerce Customizer lets you edit your checkout page with just a few clicks. Let’s walk through how to use it.
Accessing the WooCommerce Customizer
1. Log into your WordPress admin.
2. Select Appearance > Customize.
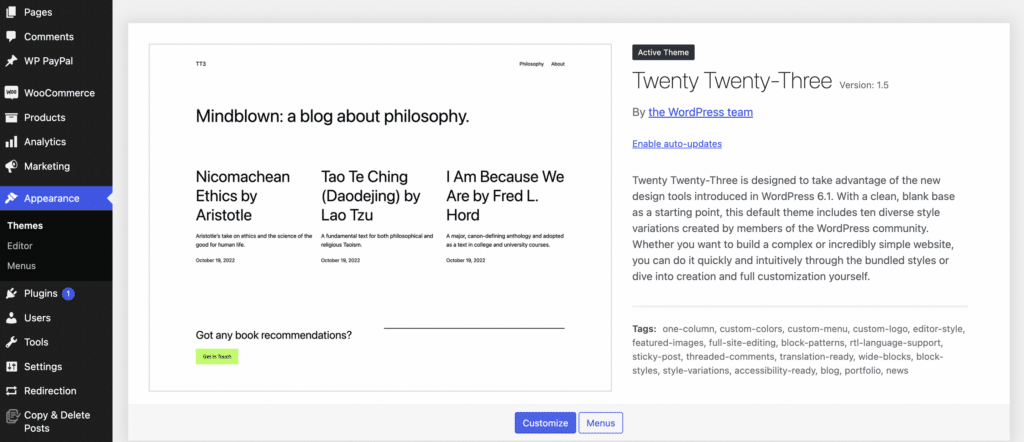
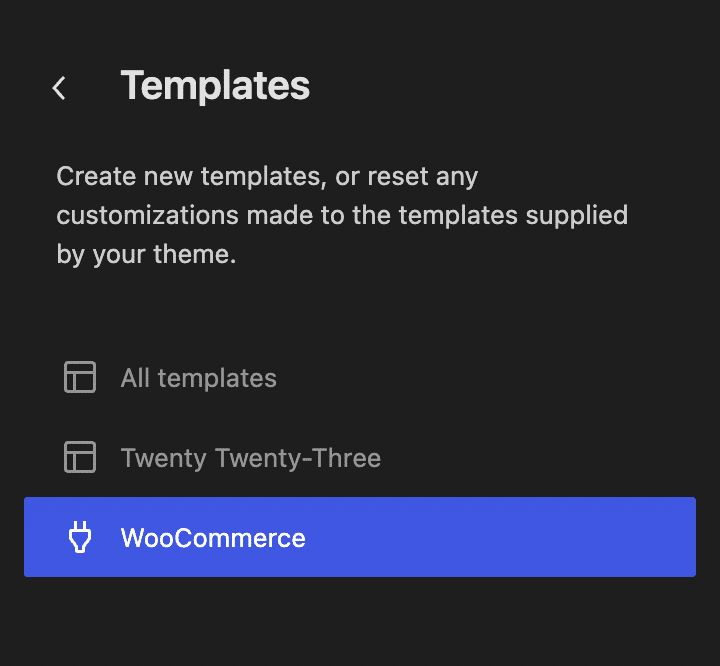
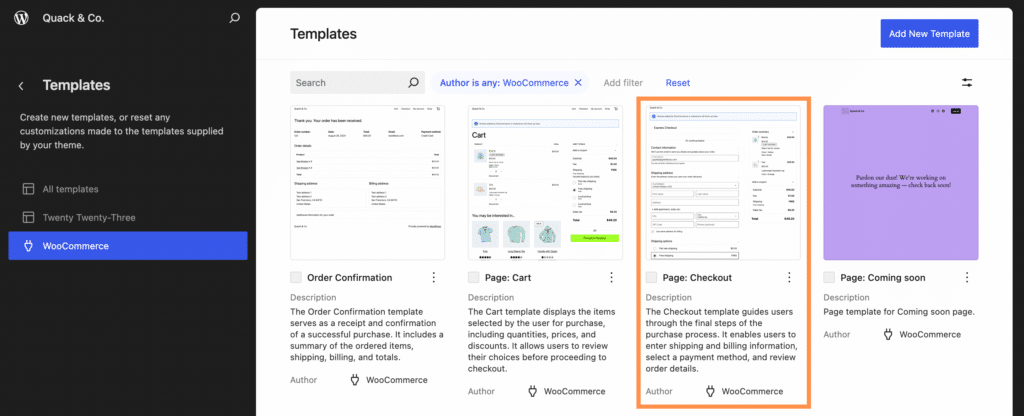
3. Navigate to Templates and choose WooCommerce.
Customizing the checkout fields
1. Under the WooCommerce section, select Checkout to access the checkout customization options.
2. You’ll now see a list of all the available checkout fields. Scroll through to identify fields you want to remove.
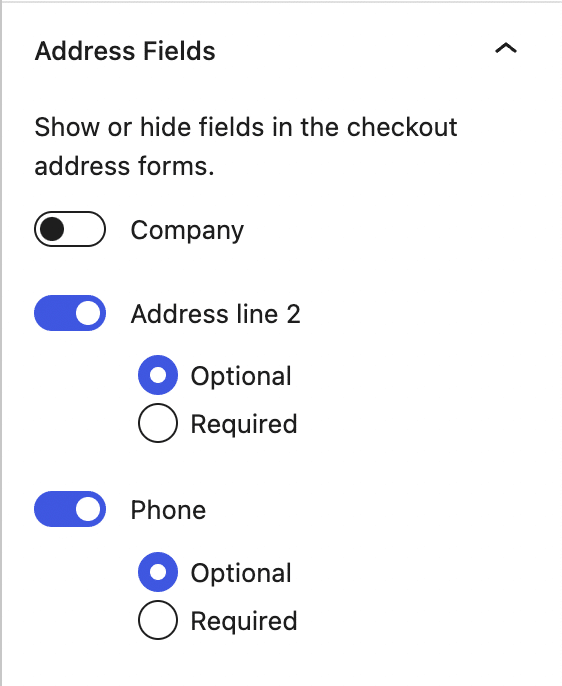
3. To remove a field, simply click on the field name to expand its options. You can use the toggle switch on the right to turn it off or unselect the Required box to make it optional.
4. After making your selections, click the Save button at the top of the Customizer to save your changes.
Not sure which fields to remove? Here are some suggestions:
- Company name: Unless you’re primarily selling to businesses, this field often goes unused.
- Address line 2: People can usually put apartment numbers or extra details in the main address box. Getting rid of this makes the form look simpler.
- Phone number: Many customers don’t like giving out their phone numbers. Unless you really need it, consider removing this field or making it optional.
But think about what your business needs before you remove anything. If you often ship to businesses or really need phone numbers for deliveries, you might want to keep those fields. It’s about finding the right balance between getting the information you need and making checkout easy for your customers.
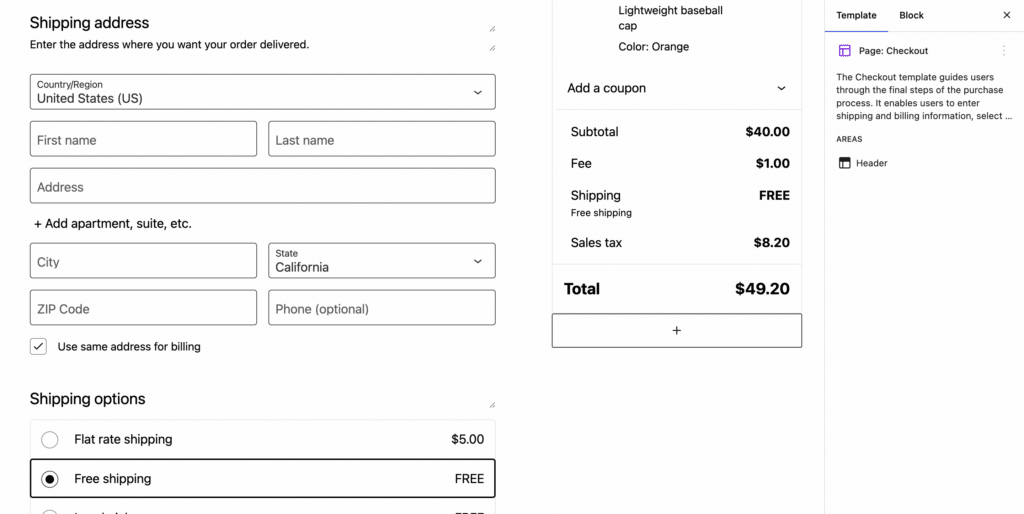
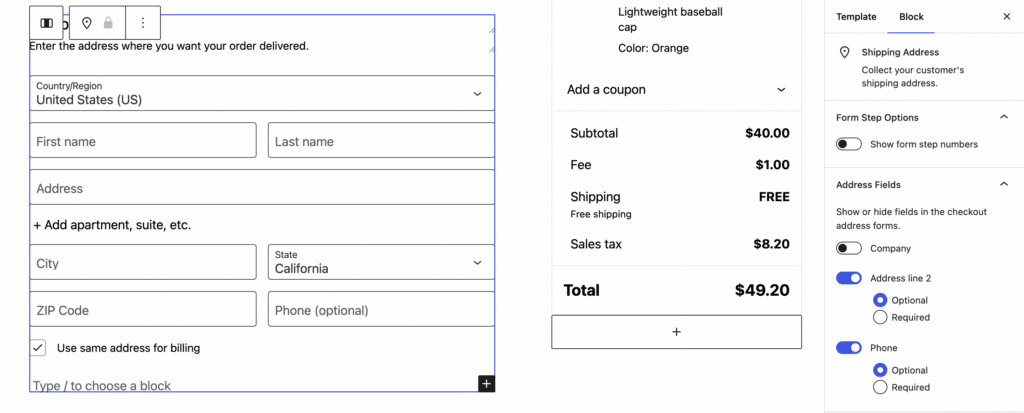
Option 2: Removing checkout fields using the block editor
The block editor lets you make limited customizations to your WooCommerce checkout page directly from your WordPress dashboard. This method allows for some visual adjustments without the need for complex coding.
To begin customizing, follow these steps:
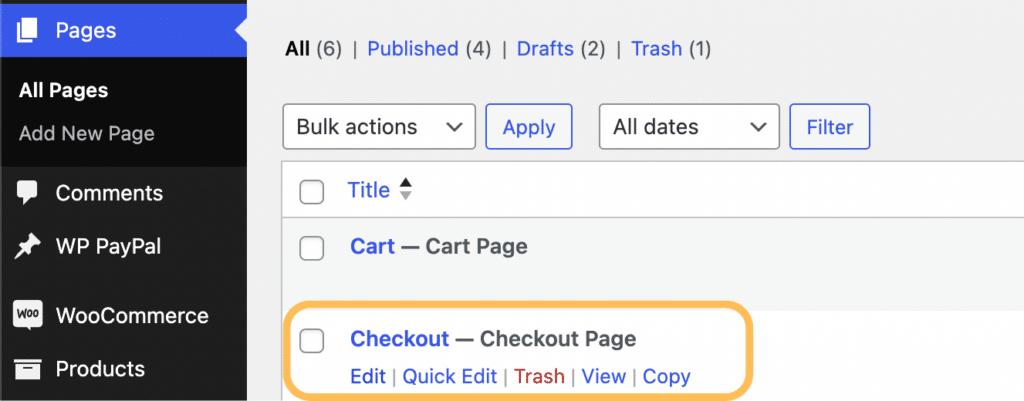
1. Navigate to WP Admin > Pages > Checkout > Edit.
2. Use the block editor interface to make the following changes:
- Rename sections.
- Add images or text.
- Insert new blocks.
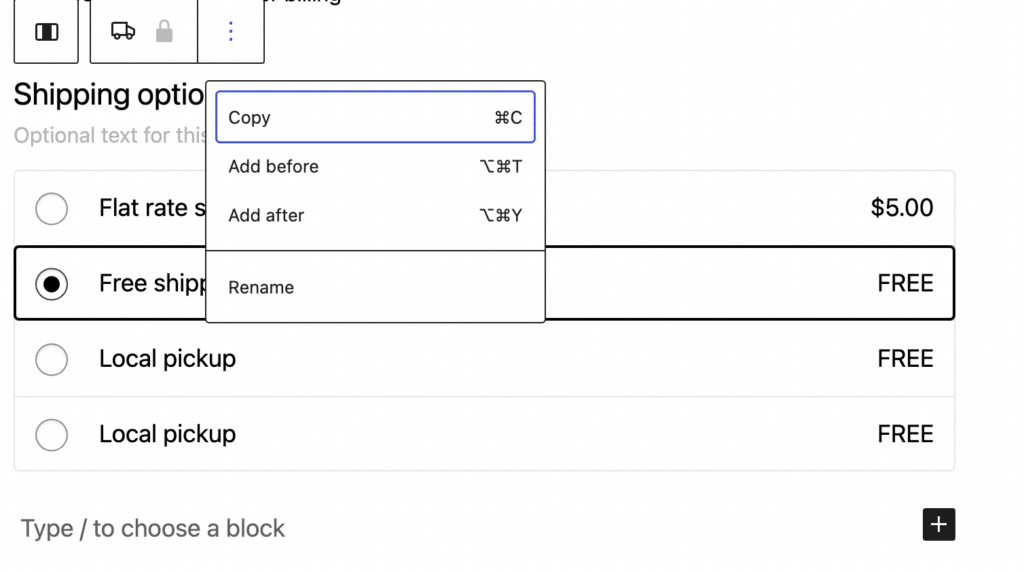
While this approach doesn’t provide complete flexibility, it does allow for some customization of your checkout page’s appearance and structure, such as:
- You can delete non-essential blocks, like the “Add a note to your order” checkbox.

- For shipping fields, click on the shipping address box to adjust the settings and hide the Company field, Address fields, and Phone fields.
P.S. The block editor is only suitable for very minor customizations. Even users without development experience may find it challenging to significantly modify the checkout page using the block editor alone.
“While the block editor provides a user-friendly interface for basic customizations, remember to consider potential compatibility issues with themes and other plugins. Always conduct thorough testing and maintain backups before implementing changes to ensure a smooth checkout experience for your customers.”
– Max Rice, Founding Engineer at Kestrel
Option 3: Removing fields using the Checkout Field Editor plugin in the legacy editor
Ever heard of the legacy editor in WooCommerce? It’s the older, more traditional way of customizing your checkout process, and it’s still pretty popular. In fact, many store owners stick with the legacy editor because it’s familiar and reliable. Plus, if you’ve got custom code or plugins tailored to the old system, why fix what isn’t broken?
To remove checkout fields within the legacy editor, you can use the Checkout Field Editor plugin. Let’s walk through the steps:
1. Install and activate the Checkout Field Editor plugin.
2. In your WordPress admin panel, navigate to WooCommerce > Checkout Fields.
3. Take a good look at your Billing, Shipping, and Additional fields. Which ones are cluttering up your checkout?
4. If you’ve found a field you want to get rid of, simply check the checkbox next to that field’s row and click the Disable/Remove button. The disabled field will now appear greyed out in the table.
5. After making your adjustments, save your changes and visit your store’s checkout page to make sure the fields have been removed successfully. And that’s all there is to it!
Option 4: Disabling checkout fields with CheckoutWC
Alright, so we’ve explored three different ways to remove checkout fields, each with its own level of complexity and flexibility. But here’s the thing – they all have one common drawback: you’re still working with the default WooCommerce checkout, which, let’s face it, has its limitations.
Let’s look at another option, CheckoutWC, which replaces the default WooCommerce checkout with something that is much better designed for good UX and lets you remove checkout fields you don’t need:
1. Make sure you’ve installed and activated the CheckoutWC plugin. For detailed instructions, check out our installation guide.
2. Once you have the plugin installed, navigate to WP Admin > CheckoutWC > Pages.
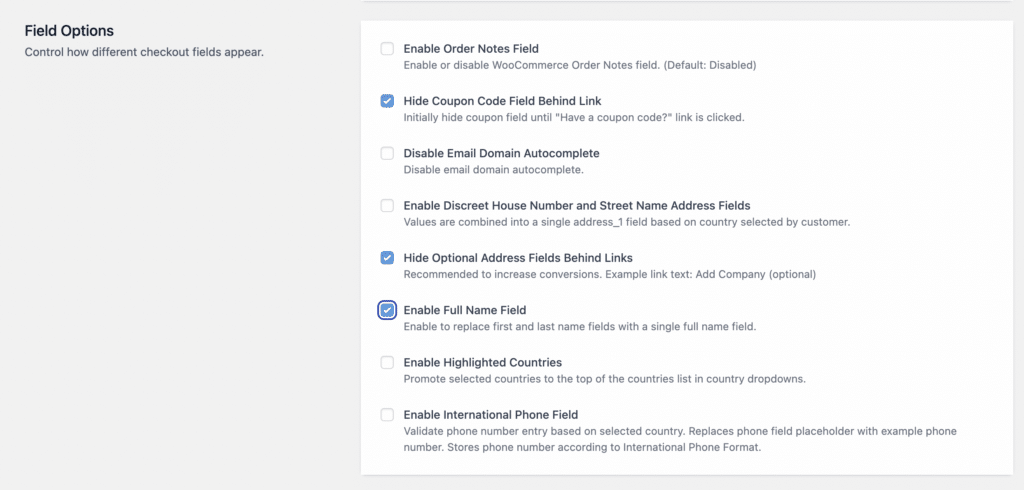
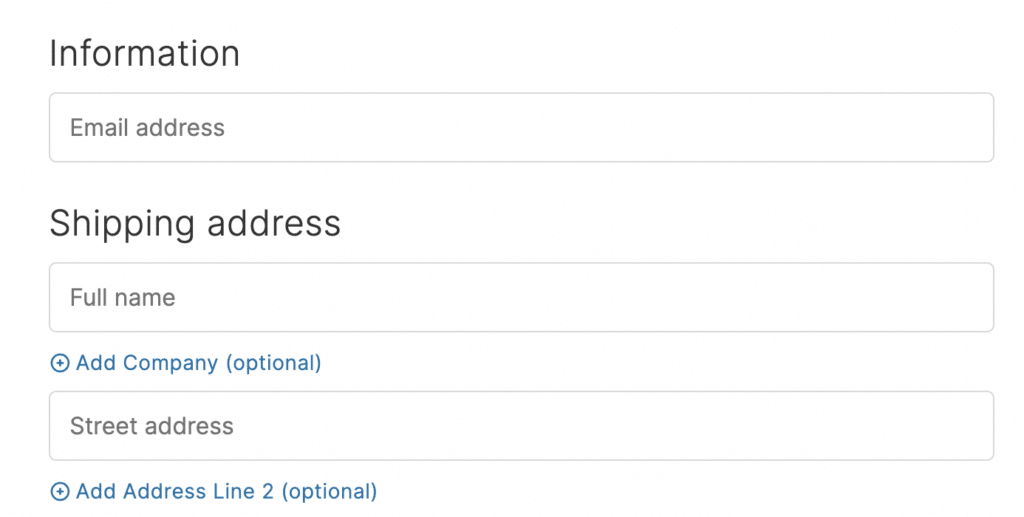
3. Here, you’ll see the option to disable various fields, including the order notes, billing address fields, and more. You could even combine the first and last name fields by enabling the Full Name Field.
4. After saving your changes, preview your checkout page to make sure the unwanted fields are no longer visible.
CheckoutWC: Your best choice for removing checkout fields in WooCommerce
Removing unnecessary checkout fields can make a big difference in your customer’s experience and your conversion rates. Think about which fields your business really needs. Do you need a ‘Company Name’ field for consumer products? Could an optional ‘Phone Number’ field lead to more completed purchases?
We’ve explored a few methods to optimize checkout, but CheckoutWC is a particularly effective solution. While other options we’ve discussed help refine the default WooCommerce checkout page, CheckoutWC provides a completely new and conversion-optimized checkout page, giving you an even better foundation to work with when removing fields you don’t need for your business.
Our users love it, too! Lianne Reburn from Marshallberg Farm says:
“Very happy with Checkout WC! Many of our customers are 60+ in age, so they need something clear and simple to avoid confusion. I no longer get emails and calls from uncertain customers trying to check out. This plugin is easy to use and looks so much more professional/streamlined than the WooCommerce default checkout page.”
If you’re thinking about upgrading your checkout process, CheckoutWC is worth considering. Give it a try today to see how it can help your store!

The simplicity of Shopify with the power of WooCommerce. Replace your WooCommerce checkout page with CheckoutWC to boost sales and reduce cart abandonment.