A badge collection is one trust badge that shows a row of ready-made icons: the cards and wallets you accept, a secure checkout badge, or a money-back guarantee. There’s nothing to design, source or license. Pick the icons, arrange them, and the collection sizes itself to fit its slot.
When you’d use this
- You want payment logos on your checkout without finding and licensing the artwork yourself.
- You want a secure checkout or guarantee badge that matches your checkout’s colors.
For your own image and text, use a custom badge instead.
Badge collections at a glance
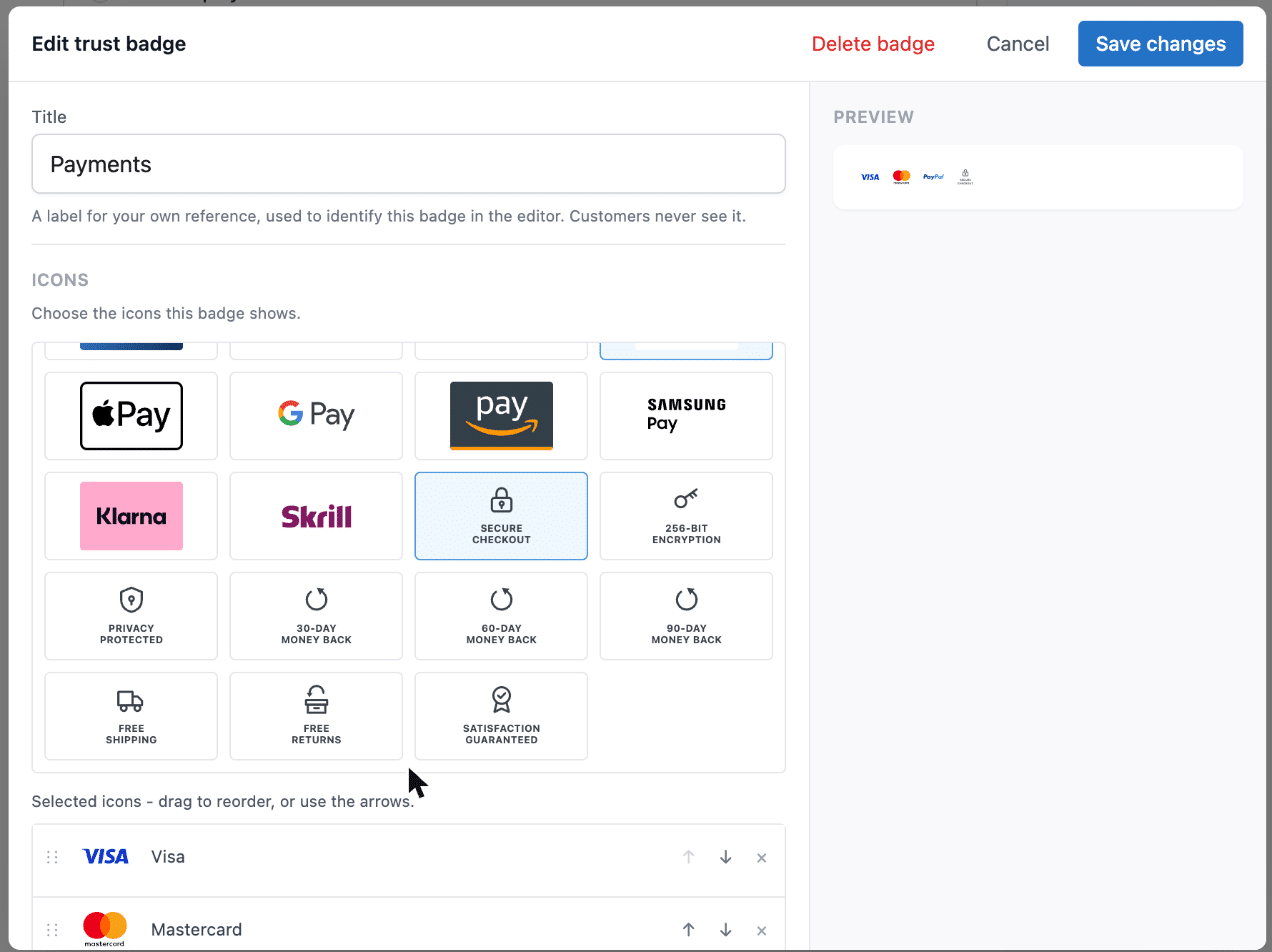
Payment methods: Visa, Mastercard, American Express, Discover, Diners Club, JCB, UnionPay, PayPal, Apple Pay, Google Pay, Amazon Pay, Samsung Pay, Klarna, Skrill.
Security: Secure checkout, 256-bit encryption, Privacy protected.
Guarantees: 30-day money back guarantee, 60-day money back guarantee, 90-day money back guarantee, Free shipping, Free returns, Satisfaction guaranteed.
Show only the payment methods you accept and the guarantees you honor, so the badge never promises something your store doesn’t offer.
Create a collection
- Go to CheckoutWC » Checkout Editor and open Badges. Turn on Trust Badges if it isn’t on already.
- Open Slots, expand the slot you want and click + (or Add item).
- Click + New trust badge, then choose Badge collection.
- Set it up with the settings below.
- Click Add trust badge, then Save Changes at the top of the editor.
Collection settings
- Title: a name for the collection in the editor, such as “Accepted payment methods”. Customers never see it.
- Icons: every available icon. Click an icon to add it, and click it again to remove it.
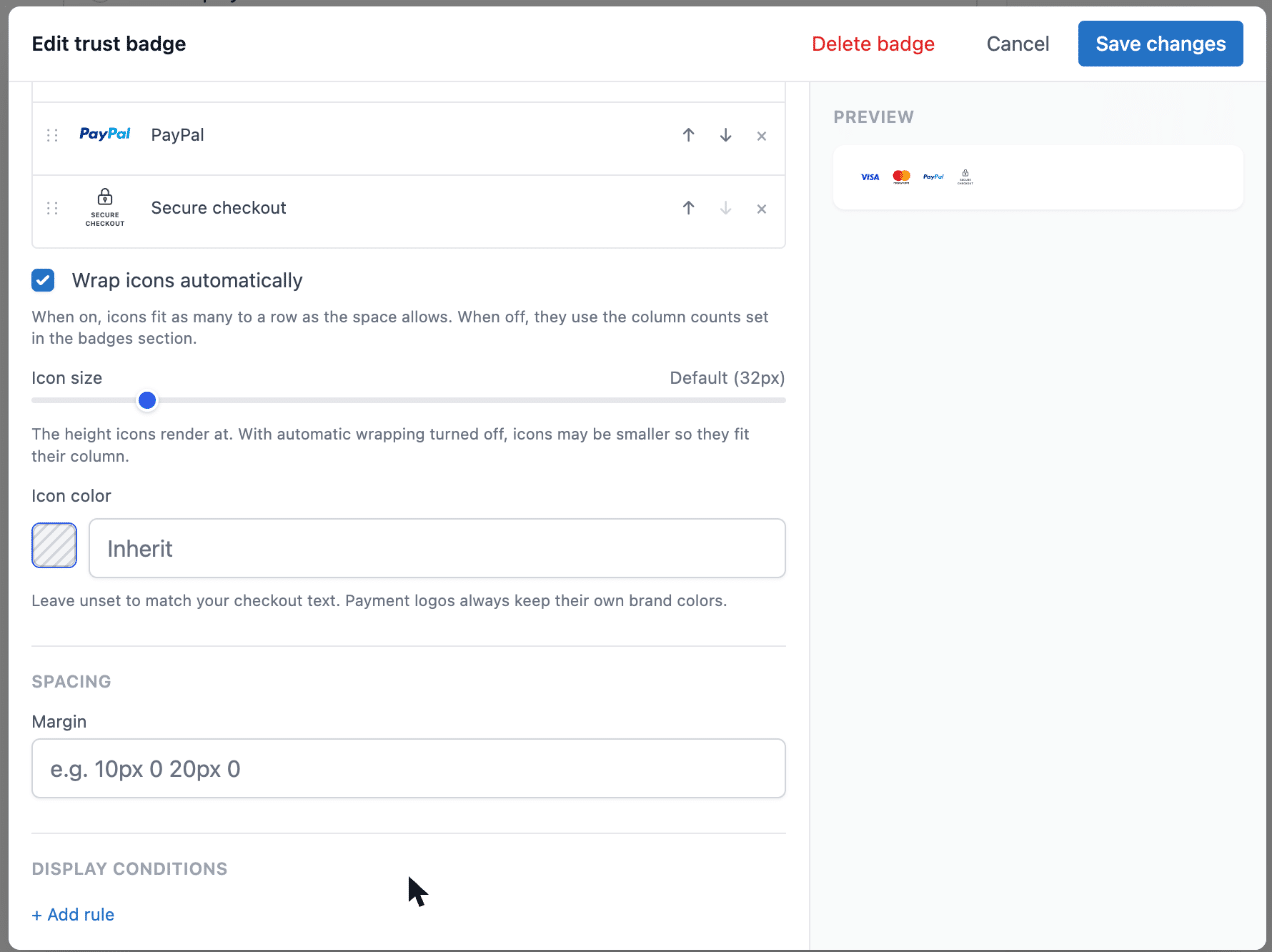
- Selected icons: the icons in the collection, in order. Drag them, or use the arrow buttons, to reorder; the × button removes one.
- Wrap icons automatically: on by default. Icons fit as many to a row as the space allows. Turn it off to use the column counts from the Checkout Editor’s Badges section instead.
- Icon size: the height of the icons, from 16 to 128 pixels. Default 32. With automatic wrapping off, icons may be smaller so they fit their column.
- Icon color: shown once you’ve picked a Security or Guarantee icon. Leave it on Inherit to match your checkout text, or pick your brand color. Payment logos always keep their own brand colors, so customers recognize them.
- Margin, under Spacing, and Display conditions: the same as for a custom badge.
Licenses
- While your license isn’t active on the site, Badge collection shows a lock and can’t be chosen.
- If your license lapses, your collections are kept but no longer show on your checkout, and the editor shows them as locked and read-only. Renew your license to restore them (see Manage your CheckoutWC license). You can still delete them.
Common issues
The collection doesn’t show on the checkout
Check that Trust Badges is on in the Checkout Editor’s Badges section, that you clicked Save Changes, and that your license is active on this site, in the Your plan card on CheckoutWC » Dashboard.
The icon color didn’t change the payment logos
That’s expected: payment logos keep their brand colors. Icon color changes the Security and Guarantee icons.
Icons are too small
With Wrap icons automatically off, icons shrink to fit the column counts in the Badges section. Turn wrapping on, or lower the column count.