Guaranteed safe checkout badge: how to add one to your store

Table of Contents
- Types of safe checkout badges and where to get them
- Secure checkout badges
- Accepted payment badges
- Third-party endorsement badges
- Money-back guarantee badges
- Free shipping badges
- How to add a guaranteed safe checkout badge to your store
- Add a guaranteed safe checkout badge to your WooCommerce store
- Add trust badges to your Shopify store
- Where to place a safe checkout badge
- Build customer confidence at checkout
A “guaranteed safe checkout” badge is the row of card and wallet logos, usually under a lock icon or a “Guaranteed safe and secure checkout” heading, that sits beside the payment form on a store’s checkout page. It answers the question a shopper asks right before they type in their card number: is it safe to pay here?
That question costs stores real orders. Baymard Institute’s list of reasons shoppers abandon checkout includes “I didn’t trust the site with my credit card information”. Trust badges placed at that moment are one of the simplest ways to answer it.
A good safe checkout badge does a few jobs at once:
- It reassures customers at the payment step, where security worries peak.
- It shows which cards and wallets you accept before the customer reaches the payment options.
- It lends a newer store the familiarity of brands customers already trust.
- It can reduce checkout abandonment at the moment customers hesitate.
Below: the kinds of badges that make up a safe checkout badge, where to get the logos, how to add one to WooCommerce and Shopify, and where to place it.
Types of safe checkout badges and where to get them
Each type of badge answers a different worry, and you can combine them. These are the ones that make up a safe checkout badge.
Secure checkout badges
A secure checkout badge tells customers their payment details are encrypted on the way to you, and it does the most work at the final payment step. Only show one if your store runs on HTTPS with a valid SSL certificate, which gives customers the padlock in the browser’s address bar.
The badge itself doesn’t have to come from a security vendor. In Baymard’s 2023 study of checkout seals, the Norton seal gave shoppers the strongest sense of trust, and a homemade seal performed significantly better than the seals from established SSL vendors other than Norton. What matters is having some kind of visual seal or icon close to the card fields.
Accepted payment badges
Payment method logos show customers which cards and wallets you accept, and borrow the trust those brands have built. Use the official artwork from each brand’s own site, follow its usage guidelines, keep the brand colors, and only show the payment methods you accept.
Third-party endorsement badges
These badges show that someone else vouches for your business. Options include:
- Google Customer Reviews badge, which you can add to your site after you accept the program agreement.
- Trustpilot ratings (Trustpilot has a Free plan).
- Better Business Bureau accreditation, which serves businesses in the United States and Canada.
Money-back guarantee badges
A money-back guarantee badge tells customers they can get their money back if the product isn’t right, which takes the financial risk out of buying from a store they don’t know yet. Only show the guarantee period you honor.
You can design your own with free tools such as Canva‘s badge templates:

Or Freepik‘s downloadable designs (check each file’s license before you use it):

Free shipping badges
Extra costs such as shipping, tax, and fees are the reason Baymard’s list ranks highest once “just browsing” is set aside, so a free shipping or free returns badge tells customers there’s no surprise waiting at the total. You can make these with the same free tools.
Use only the badges that answer a real worry for your customers. Two to four signals in one visual style read as trustworthy; a wall of logos reads as clutter.
How to add a guaranteed safe checkout badge to your store
WooCommerce and Shopify work differently here, so each has its own steps.
Add a guaranteed safe checkout badge to your WooCommerce store
You don’t need to hunt for a “guaranteed safe checkout” PNG or edit your theme files. With CheckoutWC, a WooCommerce checkout plugin, the badge shoppers mean by that phrase, a secure checkout mark with the card and wallet logos you accept, is built in as a badge collection:
- Go to CheckoutWC » Checkout Editor, open the Badges section and turn on Trust Badges. Badges only show on your checkout while it’s on.
- Open Slots, expand the slot where the badge should appear, click + and choose + New trust badge. After Payment Methods, right under the card fields, is a good first choice.
- Choose Badge collection.
- Click the icons you want, such as Secure checkout plus the payment logos you accept, and drag them into order.
- Click Add trust badge, then Save Changes.
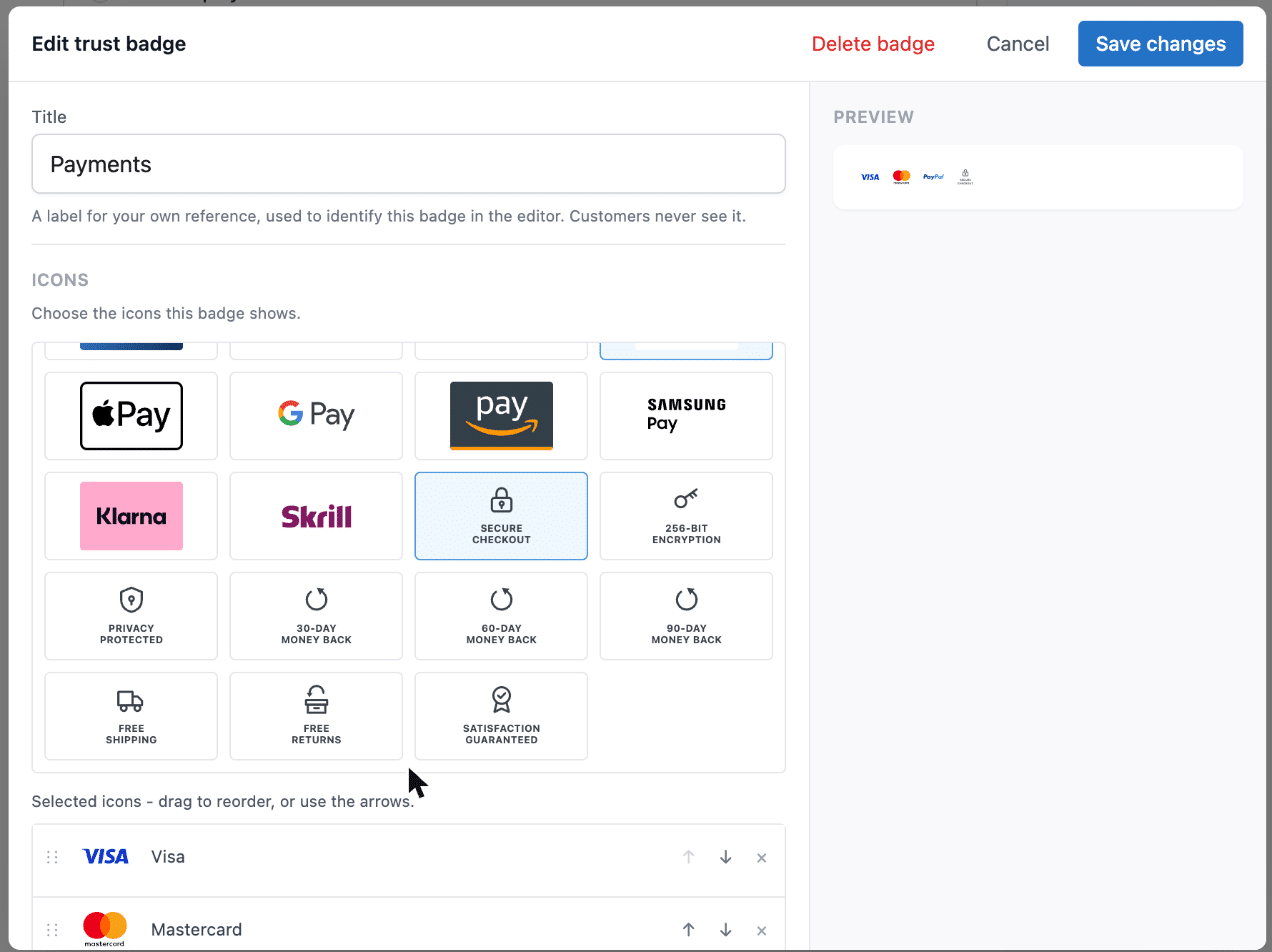
The icon gallery has 14 payment logos (including Visa, Mastercard, American Express, PayPal, Apple Pay, and Google Pay), three security icons (Secure checkout, 256-bit encryption, and Privacy protected), and six guarantees: 30-day, 60-day, and 90-day money back, free shipping, free returns, and satisfaction guaranteed. So a guarantee badge doesn’t need a Canva template either.
The collection sizes and wraps its icons to fit the slot. You can set the icon size from 16 to 128 pixels and give the security and guarantee icons your own color, while payment logos keep their brand colors so shoppers recognize them.
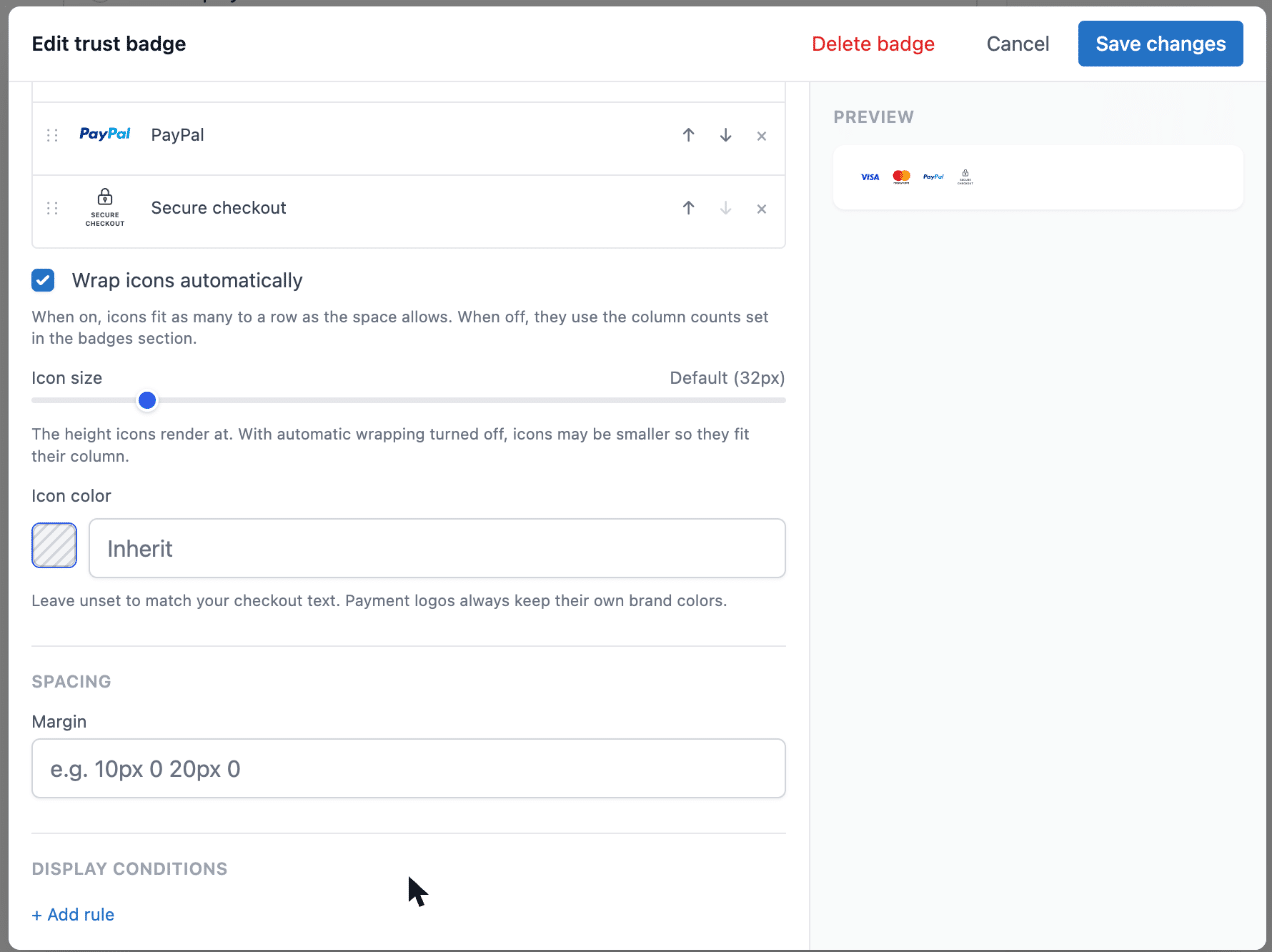
Prefer your own artwork? Choose Custom badge in step 3 and build a badge with your own image, title, and description. See the trust badges documentation for every setting.
Every badge takes display conditions, so you can show a money-back guarantee only for certain cart contents or customer countries. And because the badge is a setting rather than code in your theme, it isn’t tied to your theme’s template files the way a hand-coded badge is.

The simplicity of Shopify with the power of WooCommerce. Replace your WooCommerce checkout page with CheckoutWC to boost sales and reduce cart abandonment.
Add trust badges to your Shopify store
Shopify hosts its own checkout, and adding your own elements to the information, shipping, and payment steps is limited to Shopify Plus stores. A common place for trust badges on Shopify is product and cart pages instead:
- Check your theme first. Go to Online Store » Themes » Customize and look for a section or block for icons, payment logos, or trust badges on product and cart pages.
- If your theme doesn’t have one, the Shopify App Store has trust badge apps with icon libraries and placement options.

If you like a Shopify-style checkout but want full control over it, including what appears beside the payment form, WooCommerce with CheckoutWC gives you a similar checkout experience on a platform you control.
Where to place a safe checkout badge
Placement is about answering a worry at the moment it comes up. With CheckoutWC you choose the checkout slot for each badge, so you can put it where it does the most work.
| Order summary | |
| Best locations | Below the order total, where customers check what they’re paying (After Cart Summary Totals). Above the line items, to show accepted payment methods early (Before Cart Summary Items). |
| Why this works | It meets the “do I really want to spend this much?” moment with reassurance. It reminds customers of your guarantees while they review their order. |
| Most effective badges here | Free returns and money-back guarantee badges. Free shipping badges. Payment logos. |
| Checkout form | |
| Best locations | Right under the payment methods, where customers enter card details (After Payment Methods). Just before the terms and the Complete Order button (Before Terms & Conditions), or just after it (After Complete Order). |
| Why this works | It answers the security worry that comes up while customers enter payment details. It reduces hesitation at the moment of commitment. |
| Most effective badges here | Secure checkout and encryption badges. Payment logos. Money-back guarantee badges. |
| Footer | |
| Best locations | At the top of the checkout footer (Before Footer) or inside it (After Footer). |
| Why this works | It serves shoppers who check the footer for legitimacy signals. It adds reassurance without crowding the form. |
| Most effective badges here | Secure checkout badges. Payment logos. Industry certifications and memberships. |
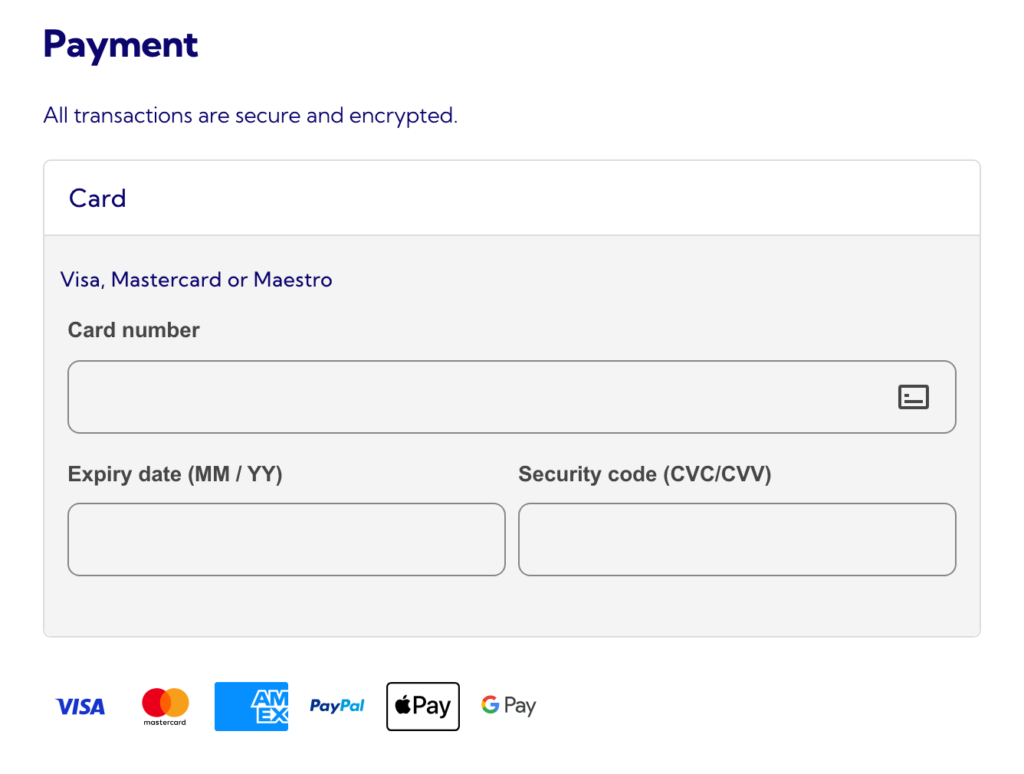
Build customer confidence at checkout
A guaranteed safe checkout badge answers the security question that stops customers at the payment step, and it works best right beside the payment form. Combine a secure checkout signal, the payment logos you accept, and the guarantees you honor, and keep the set small.
With CheckoutWC, adding one is a few clicks in the Checkout Editor, with ready-made payment, security, and guarantee icons and no code in your theme. It’s one plan with every feature, from $249 a year for one site. See the plans. For more on choosing badges, read our guides to WooCommerce trust badges, payment trust badges and logos, and the secure checkout badge and trust seals in WooCommerce.