How to Implement WooCommerce Upsell Popups in 4 Easy Steps
Table of Contents
- Determining the most strategic place to display your upsell popups
- Why upsell pop-ups should be used post-purchase
- How to set up upsell popups in 4 easy steps with CheckoutWC
- Step 1: Configure order bumps settings
- Step 2: Create a new order bump
- Step 3: Set the display conditions
- Step 4: Design the upsell popup
- Create upsell popups that convert with CheckoutWC!
Have you noticed how Netflix knows exactly what to suggest after you finish binging a series? Your WooCommerce store can do something similar with smart upsells that help both you and your customers.
In fact, companies that offer personalized recommendations grow 40% faster than their competitors, according to McKinsey. Upsells give you a brilliant way to do this by offering customers complementary items for their main purchase or product upgrades that better match their needs. Smart upsells do two important things: they increase your Average Order Value (AOV) and turn one-time buyers into loyal customers.
While WooCommerce includes some basic upselling features, they only scratch the surface. For truly effective upsells, you need a plugin that gives you more control. One popular method is to use a modal popup – in this article we compare this approach vs other ways of displaying upsells, arguing that the best approach to use popups is as post-purchase modals that appear after checkout, while other upselling strategies should be used earlier in the checkout process.
This guide will walk you through setting up post-purchase upsell popups step by step. By the end, you’ll know how to show the right products to your customers at the perfect time, without being pushy or intrusive.
Key points:
- Post-purchase popups are an extremely effective way to show upsells in WooCommerce because they appear when customers are most likely to buy more, without risking cart abandonment.
- CheckoutWC’s order bump feature lets you create targeted post-purchase popups that appear right after checkout, with customizable rules based on cart contents.
- Setup takes just four steps: enable order bumps, create a new bump, set display conditions, and design your popup.
Determining the most strategic place to display your upsell popups
The success of your WooCommerce upsell popups depends heavily on timing and placement. It’s important to note that we’re specifically focusing on popup-style upsells in this article. Popups are inherently more intrusive than other upselling methods like inline product recommendations or subtle sidebar suggestions. That’s why their placement is especially crucial – while earlier upselling strategies can be very effective when implemented thoughtfully, popup-style offers need to be timed carefully to avoid disrupting the customer’s shopping experience.
First, there’s the option of adding popup upsells to the side cart. While this catches shoppers in an active browsing mindset, displaying modal popups this early in the journey can feel intrusive and potentially drive customers away. The side cart is typically better suited for subtle inline suggestions rather than popup overlays.
Next is showing popup upsells during checkout. While customers here show high buying intent, modal popups during checkout are particularly risky compared to post-purchase alternatives. Unlike displaying popups after purchase completion, these interruptions can directly impact your conversion rate by causing cart abandonment – exactly what you don’t want when you’re so close to securing the sale.
Finally, we have post-purchase modals, which have the highest conversion potential because the main sale is already in the bag. There’s zero risk of disrupting the purchase, and customers are often in a positive mindset after buying.
While all these methods can work well together (yes, you can use all three!), there’s a clear winner when it comes to popup-style upsells, and that’s post-purchase modals.
Why upsell pop-ups should be used post-purchase
“If someone just bought something from your store, they already trust you. That’s why post-purchase is the perfect time for upsell popups. Your customer is happy with their purchase, their payment details are already in, and they’re actually open to seeing what else you’ve got. It’s smart, mindful marketing that works because you’re putting the customer’s experience first.”
– Beka Rice, Product Architect at Kestrel
There’s a psychological principle at work here called purchase momentum. When customers complete a purchase, they’re in a unique state of mind where they’re most receptive to relevant additional offers. Since they’ve already justified their initial buying decision, making smaller, related purchases feel more natural.
Post-purchase modals create a distraction-free environment for considering these additional offers. Unlike standard page elements that compete for attention, these popups provide a focused experience by dimming the rest of the page. It’s like having a brief, private conversation with your customer. Here’s why the timing of it works so well:
- The main purchase is already secured.
- Additional purchases feel smaller compared to the initial buy.
- Product recommendations can be perfectly tailored to their purchase.
- There’s no risk of cart abandonment.
These modal offers also feel more exclusive than standard page recommendations. By waiting until after purchase, you’re respecting the customer’s shopping experience while catching them at their most receptive moment – when buying motivation is highest and disruption is lowest.
How to set up upsell popups in 4 easy steps with CheckoutWC
CheckoutWC is a conversion optimization plugin that helps improve your store’s checkout completion rates. It also includes an order bump feature, which lets you display upsells throughout the shopping journey – in your cart, side cart (if enabled), checkout page, above the terms and conditions, and as post-purchase modal popups.
In this tutorial, we’ll focus specifically on setting up post-purchase upsell popups using the ‘After Checkout Submit Modal’ display option. If you’re looking to set up other types of order bumps, we have a separate guide for that!
Before we start, you’ll need to install and activate CheckoutWC. Note that a Plus, Pro, or Agency plan is needed, as this feature isn’t available on lower tiers.
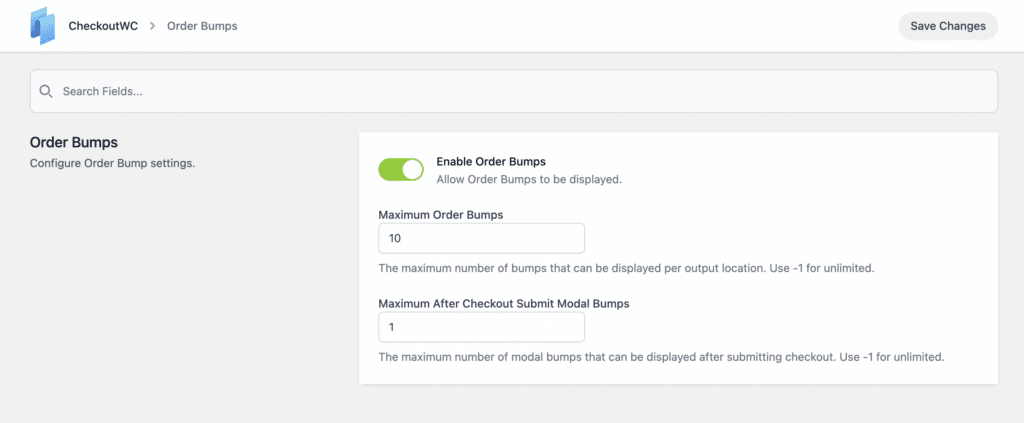
Step 1: Configure order bumps settings
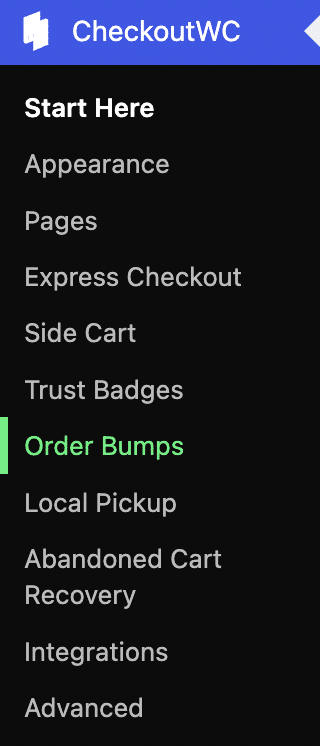
- Navigate to CheckoutWC > Order Bumps in your WordPress admin.
- Select Enable Order Bumps, set your maximum number of order bumps, and specify the Maximum After Checkout Submit Modal Bumps.
Step 2: Create a new order bump
- Go to Manage Bumps > Add New Order Bump.

- You’ll see the Quick Setup modal, which is new in CheckoutWC 10.0.
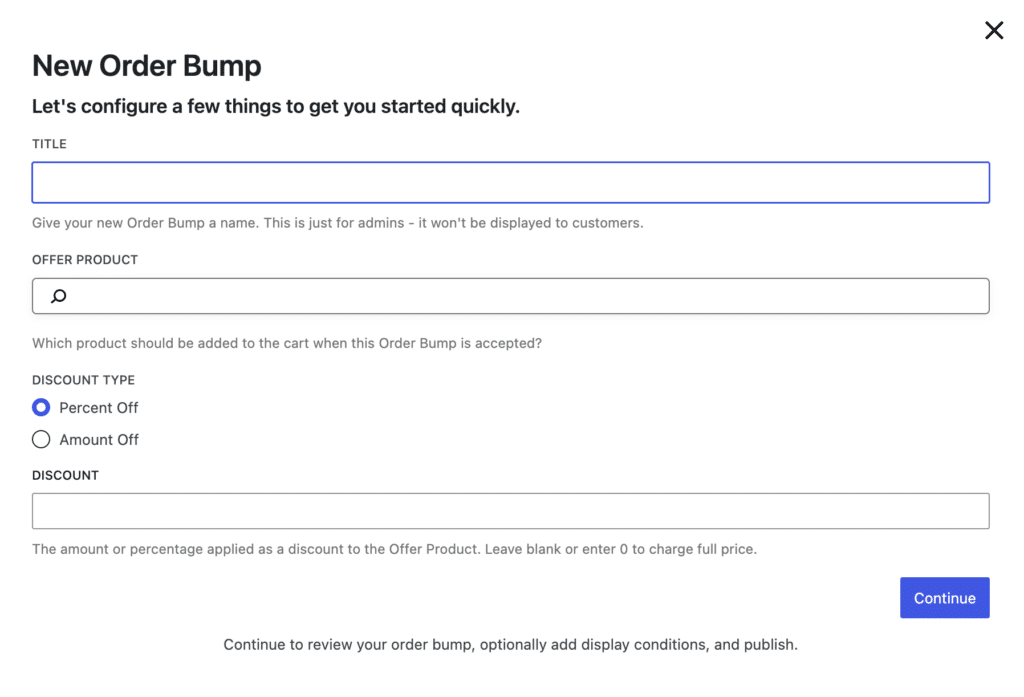
- Follow the setup wizard to create your first bump.
Step 3: Set the display conditions
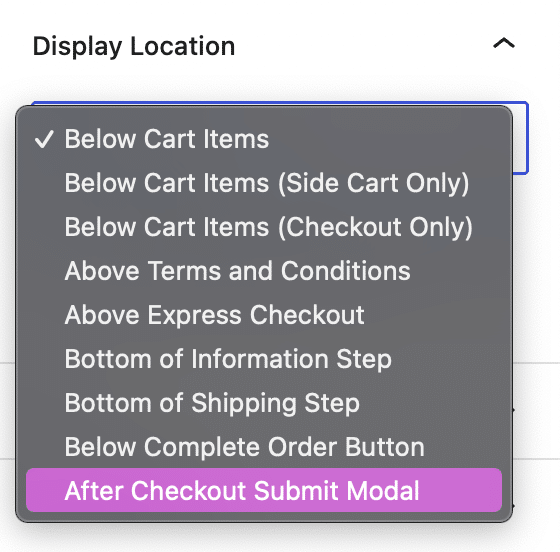
- Select ‘After Checkout Submit Modal’ as your display location.
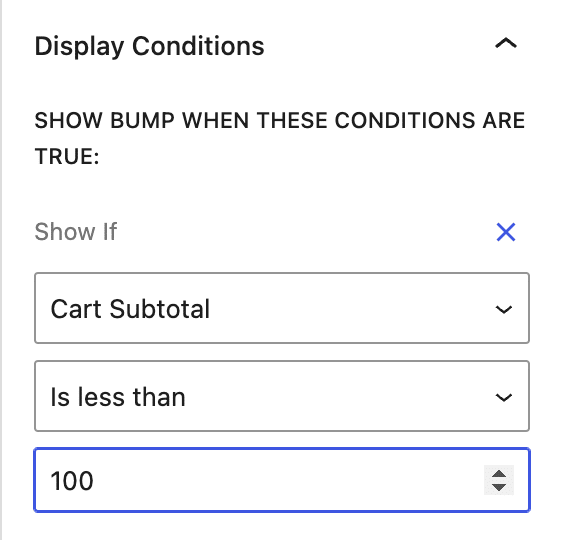
- Configure your rules using the new 10.0 rules engine. You can add as many rules as you need and choose multiple display locations if desired. For example:
- You could display the bump only for orders under $100.
- Set up rules to show specific upsells based on what’s in the customer’s cart. For example, show laptop accessories only when someone buys a laptop.

Step 4: Design the upsell popup
- Choose between modal popup and full-screen landing page for your display style.

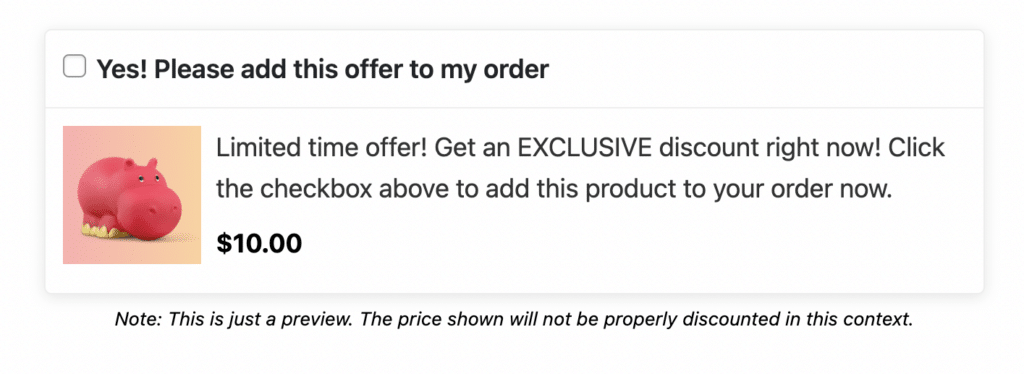
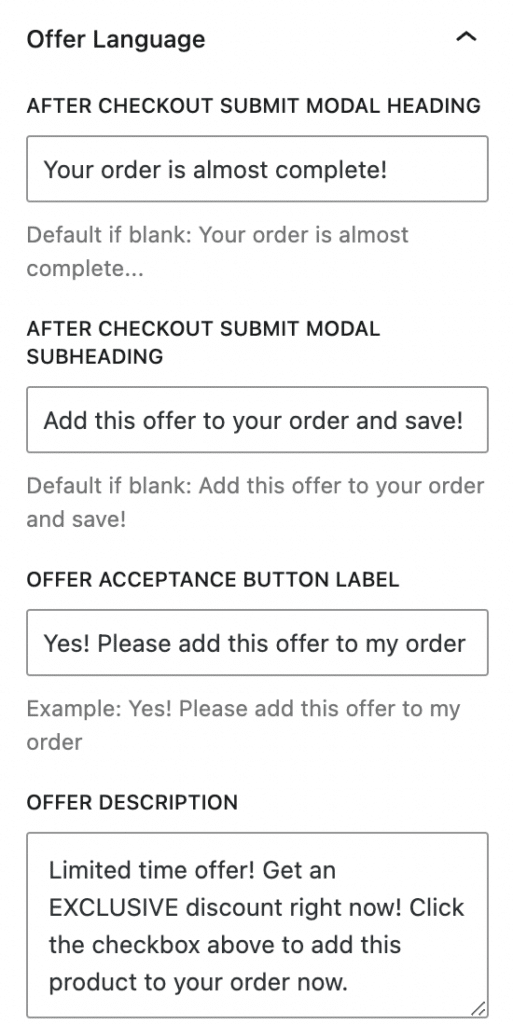
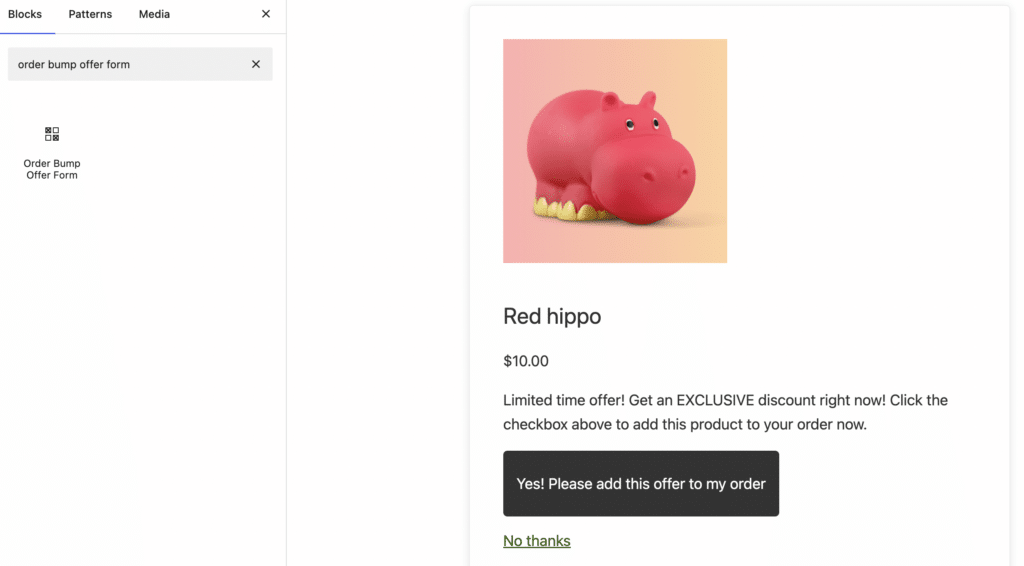
- Customize your content by adding a heading, subheading, and a rejection link text that’s clear but not pushy.
- Use the Order Bump Offer Form block to structure your offer.
Create upsell popups that convert with CheckoutWC!
Post-purchase upsell popups with CheckoutWC give you the best of both worlds: They help boost your sales while respecting your customers’ shopping experience. These well-timed offers appear when customers are most receptive, creating natural opportunities for additional sales.
What makes this approach special is how naturally it fits into your checkout flow. There’s no interruption to the buying process, no risk of cart abandonment, and no friction – just smooth, strategic upselling that enhances the customer experience.
However, post-purchase popups are just one piece of the puzzle. Combined with CheckoutWC’s other conversion-boosting features, you’re looking at a complete checkout optimization strategy that can transform your store’s performance.
Ready to improve your sales with smart, well-timed upsells? Try CheckoutWC today and see the difference mindful marketing can make for your store.

The simplicity of Shopify with the power of WooCommerce. Replace your WooCommerce checkout page with CheckoutWC to boost sales and reduce cart abandonment.