WooCommerce order bumps let you offer additional products to customers during checkout. When a customer accepts an order bump, the product is added to their cart instantly, increasing your average order value without interrupting the purchase flow.
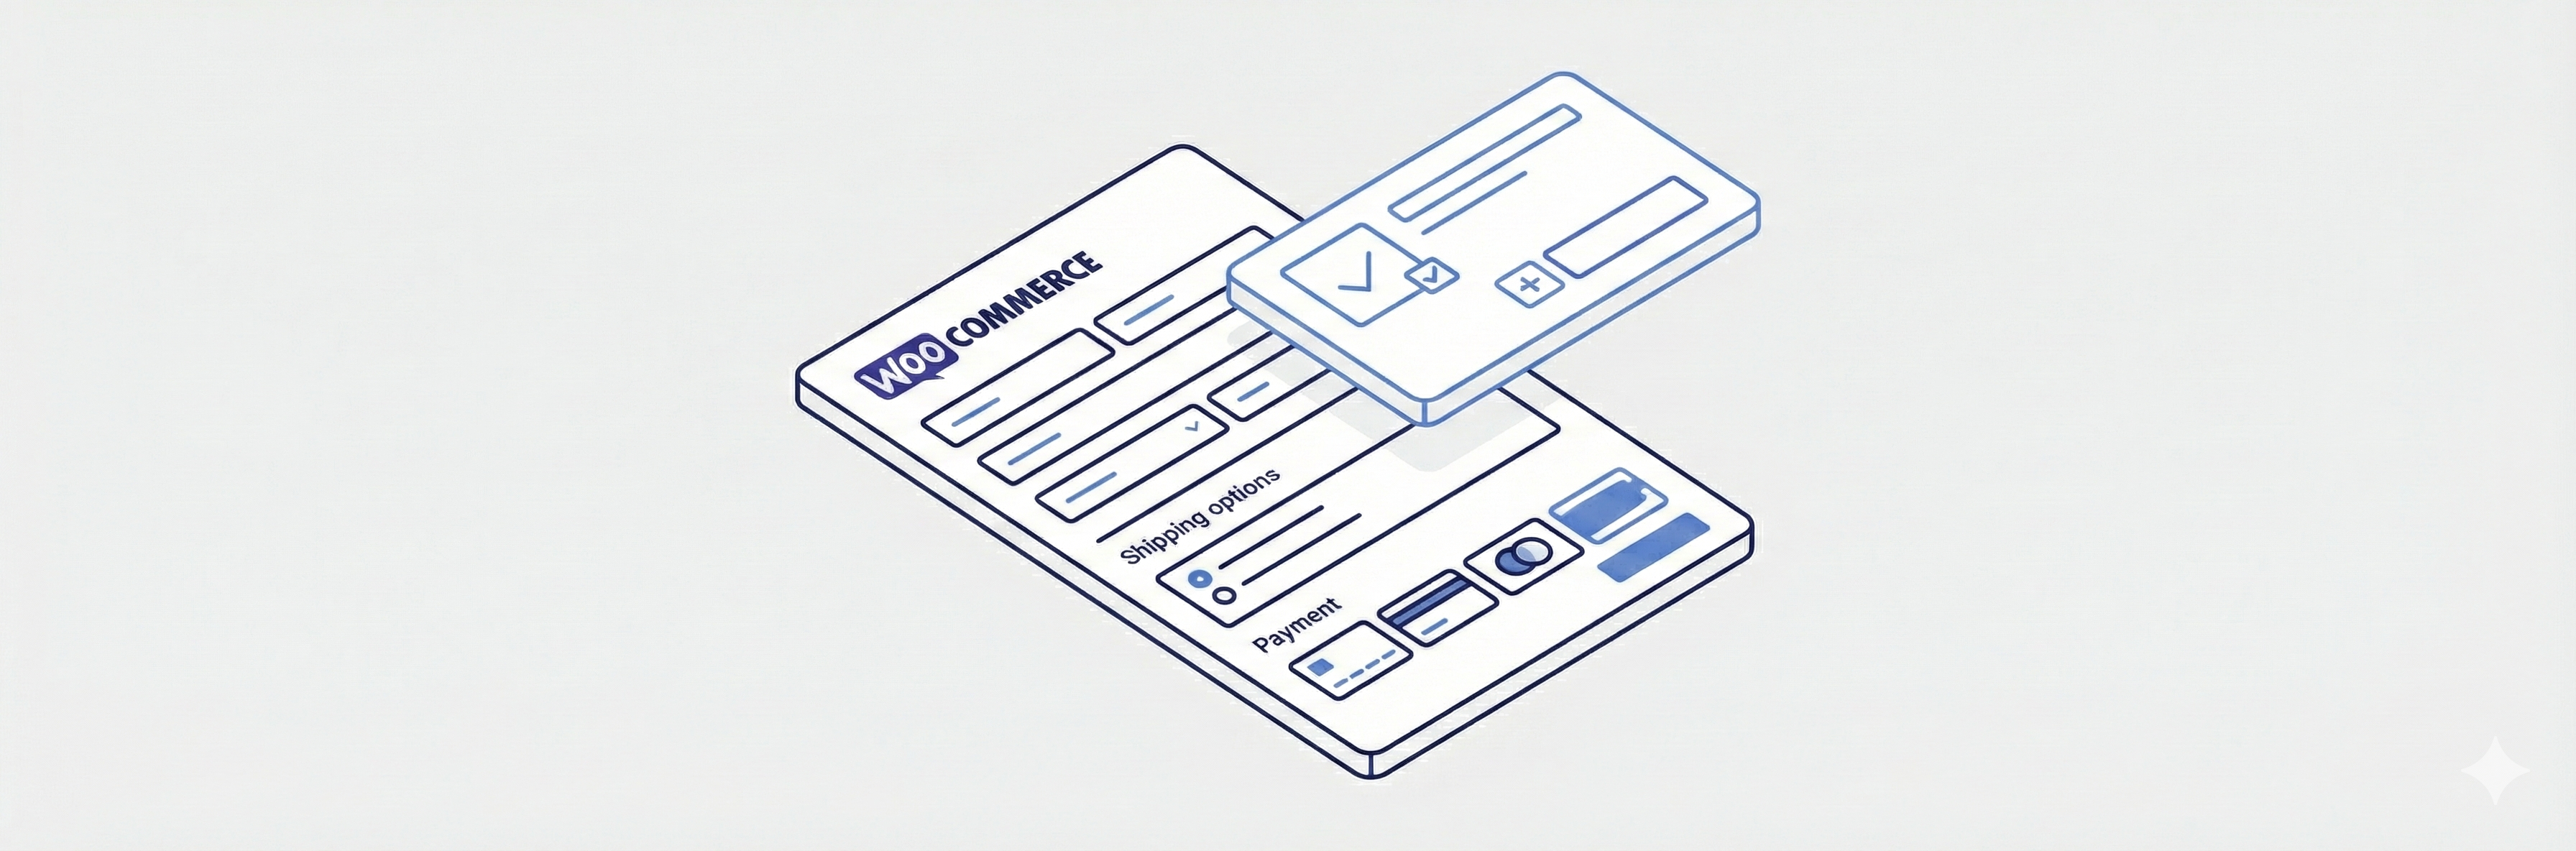
Order Bumps can appear in multiple locations: on the checkout page, in the Side Cart, or as post-purchase offers after the customer completes their order.
Plan requirements
Order Bumps require a Plus, Pro, or Agency plan. If you’re on the Basic plan, you can upgrade in your account or view pricing options.
| Plan | Order Bump Limit | A/B Testing |
| Plus | Up to 2 | No |
| Pro | Unlimited | Yes |
| Agency | Unlimited | Yes |
Getting started
If you’re new to Order Bumps, start here:
- Creating your first order bump walks you through the Quick Start wizard and essential settings.
- Order Bump placement locations explains where bumps can appear and which locations work best for different offer types.
WooCommerce order bump guides
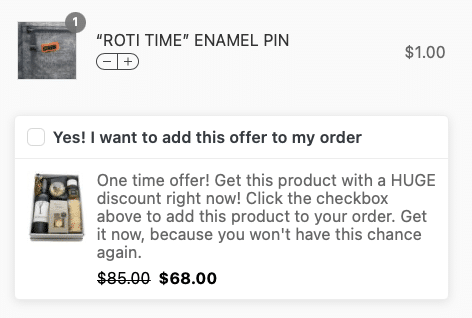
Here’s what an Order Bump looks like to a customer:
For detailed instructions, check out our WooCommerce Order Bumps guides:
| Guide | Description |
| Creating your first order bump | Step-by-step setup using the Quick Start wizard |
| Placement locations | Where bumps appear and when to use each location |
| Rules Engine reference | Target bumps based on cart contents, customer history, and more |
| Post-purchase one-click upsells | Offer additional products on the thank you page |
| A/B testing | Test different bump variations to optimize conversion (Pro+) |
Global settings
Configure Order Bump defaults at CheckoutWC > Order Bumps > Settings:
Enable Order Bumps
Master toggle to allow Order Bumps to display.
Maximum Order Bumps
The maximum number of bumps displayed per output location. Default is 10. Set to -1 for unlimited.
Maximum Place Order Bumps
The maximum number of modal bumps shown after clicking “Complete Order.” Default is 1.
Settings reference
Each Order Bump has the following configuration options. For a guided walkthrough, see Creating your first order bump.
Offer Type
Use Order Bump As Upsell
When enabled, the bump product replaces the triggering product in the cart instead of adding alongside it. Requirements:
- Display Conditions must be set to “Specific Products” with exactly one product
- The upsell must have enough stock to cover the quantity being replaced
Display Conditions
Controls when the bump appears. Options include:
- Always show (when offer product is not already in cart)
- Add rule to target specific cart states, customer segments, or purchase history
See the Rules Engine reference for detailed targeting options.
Display Location
Where the bump appears. Options include checkout page positions, Side Cart, and post-purchase modals. See Placement locations for a full breakdown.
Offer
Offer Product
The product added to the cart when the customer accepts the bump.
Auto Add Order Bump to Cart
Automatically adds the bump without requiring the customer to check a box. Useful for free gifts.
Auto Match Variations Between Search and Offer Product
When both the triggering product and offer product are variable products with matching attributes (like Size), the bump automatically offers the matching variation. For example, if a customer has a Queen mattress in cart, they’ll be offered Queen sheets.
Quantity of Offer Product to Add
How many of the offer product to add when accepted.
Allow Customer To Change Quantity in Cart
Whether customers can adjust the quantity after accepting.
Offer Discount
Discount Type
Choose between Percent Off or Amount Off.
Discount
The discount value. Enter 15 for 15% off, or 5 for $5 off. Leave blank or enter 0 for full price.
Item Removal Behavior
What happens when the triggering product is removed from the cart. Default: the bump remains in cart but bump-specific discounts are removed.
Offer Language
Offer Acceptance Checkbox Label
The text next to the checkbox. Default: “Yes! Please add this offer to my order”
Offer Description
A short pitch that appears below the checkbox explaining the value of the offer.
Modal Offer Rejection Link Text
For post-purchase modal bumps, the text customers click to decline. Default: “No thanks”
Actions
Remove These Products From the Cart
Optionally remove specific products when this bump is added.
Apply Free Shipping
When the bump is added, apply free shipping to the order.
Need help?
If you’re having trouble with Order Bumps or want advice on the best setup for your store, contact our support team.