Checkout for WooCommerce uses the system font stack by default.
This has the advantage of be lightning fast as well as well as matching the user’s OS defaults.
Using Google Fonts
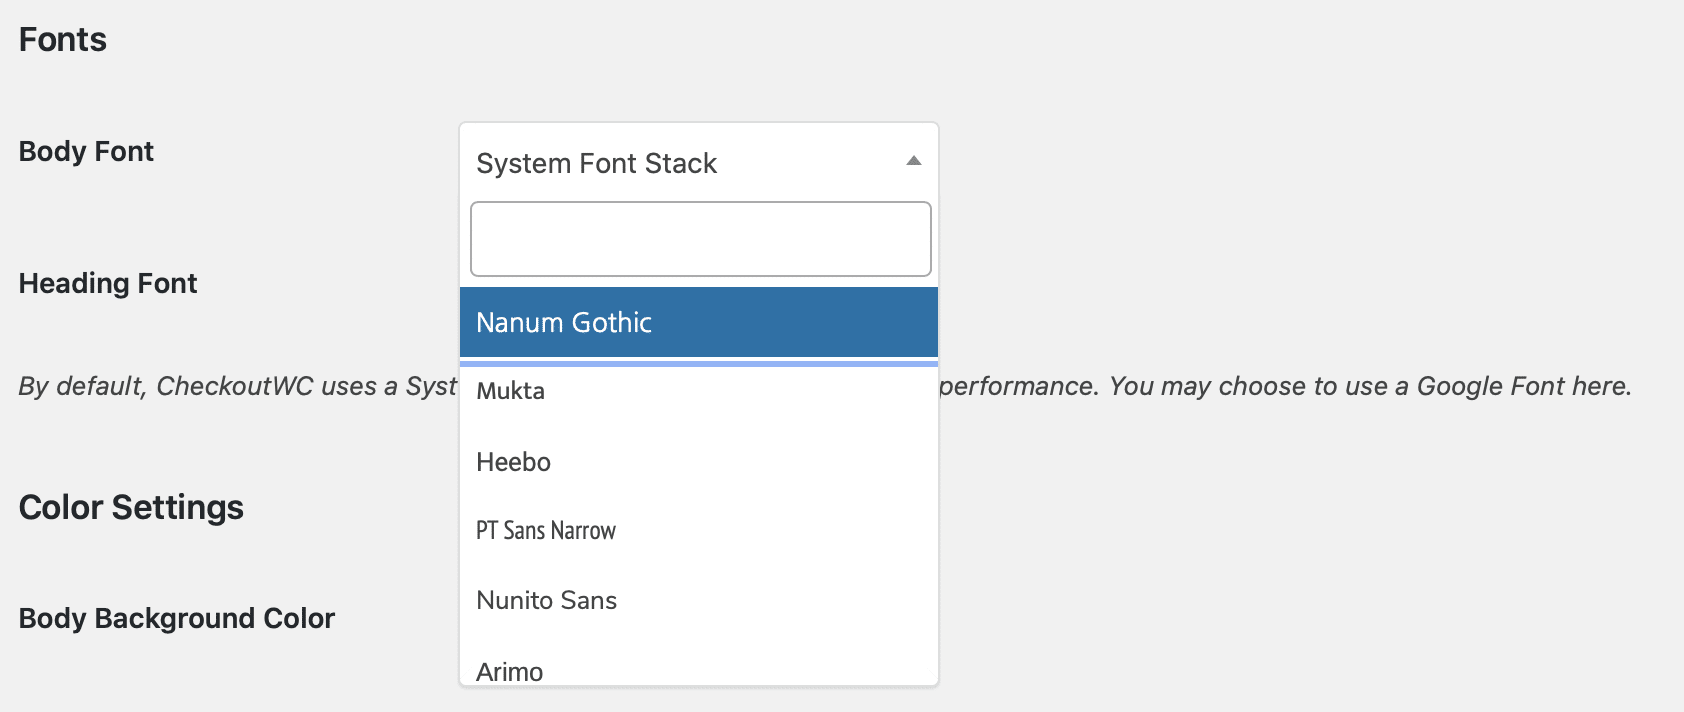
To change your fonts, go to Settings > CheckoutWC > Design and change the the Body Font and Heading Font settings:
Then save your settings and you’re good to go.
If your font list isn’t loading.
Occasionally, our fetch to Google may return an error which gets cached as a transient. To fix this, try deleting all of your transients.
With WP CLI you can use this:
wp transient delete –all
If you don’t have access to WP CLI, you can use a plugin like this:
https://wordpress.org/plugins/transients-manager/
Using custom fonts.
If you can’t find the font you need with Google Fonts, you can add a custom font. This will require custom coding.
You can insert your style tags into Settings > CheckoutWC > General > Header Scripts.
We can’t really help with this part, but if you run into a snag you’re welcome to contact support and we’ll try to point you in the right direction.