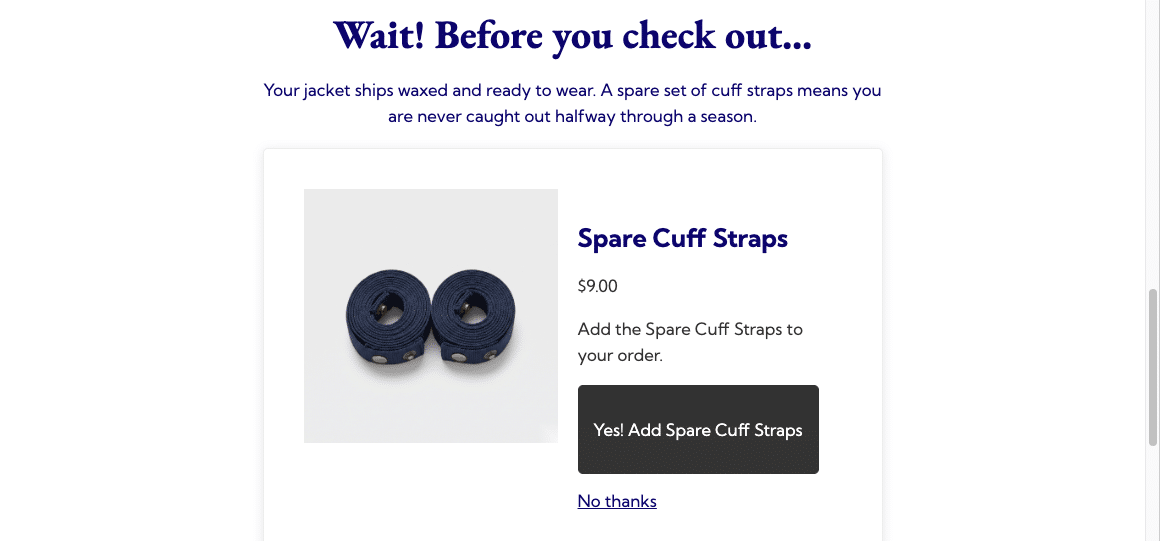
An order bump normally shows as a small checkbox or a compact pop-up. Full screen landing pages let you replace that pop-up with a custom-designed page built entirely in the WordPress block editor – useful for a bigger, more persuasive offer when the customer clicks Place Order or on the thank-you page.
This page explains what Full Screen actually turns on, what you can and can’t design with it, and the one place merchants get tripped up: the block editor canvas does nothing at all unless Full Screen is switched on.
Order bumps need CheckoutWC Plus or higher. Plus lets you publish two order bumps; Pro and Agency are unlimited.
Two different things live on the same editor screen
Every order bump is edited in the standard WordPress block editor. That editor has two separate areas, and they don’t do what they look like they do:
- The sidebar (the “Document” panels on the right) holds every real setting for the bump: offer type, display conditions, display location, the offer product and discount, the offer’s text, and the actions it triggers. This is where you configure the bump, regardless of how it will display.
- The main canvas (the block area in the middle) is a page-building surface. For almost every order bump, whatever you put there is ignored – the bump doesn’t render it. It only matters when Full Screen is turned on for that specific bump.
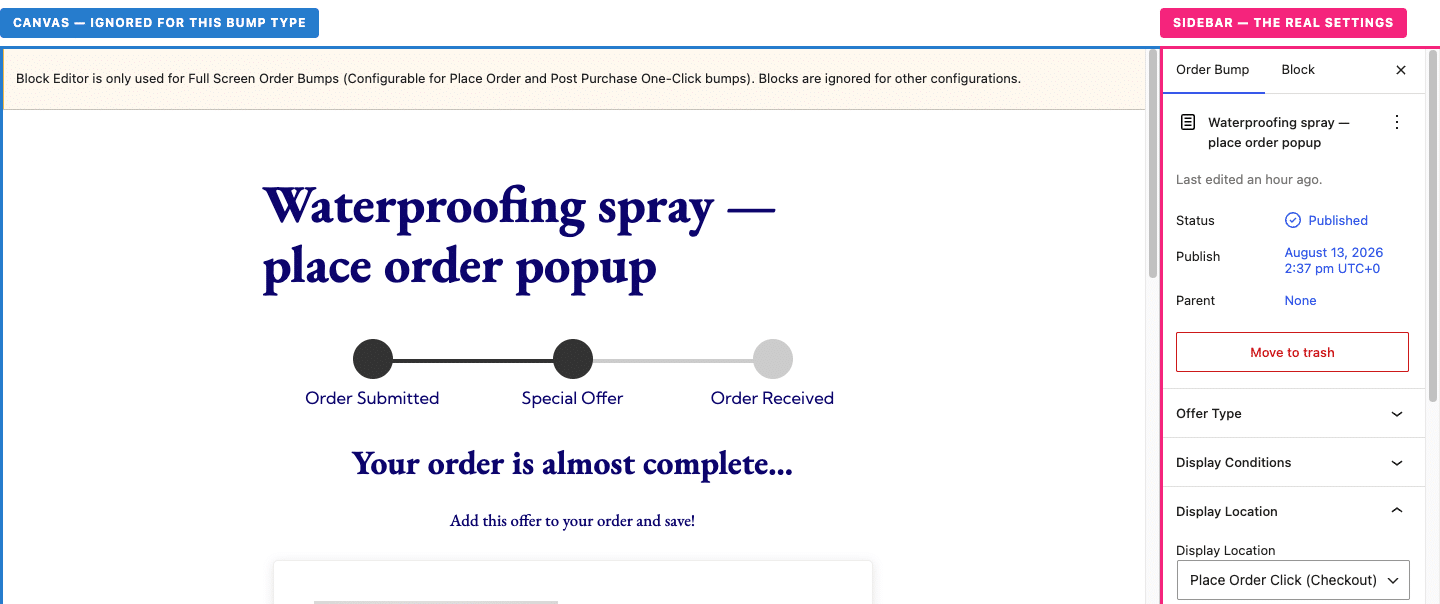
When you open any order bump, you’ll already see something sitting in the canvas: a locked preview block that mirrors your sidebar settings back to you (you can’t move or delete it, and it isn’t something you’re meant to design). Don’t mistake that for an editable area – it’s a live preview, not a canvas you’re building. The note above the preview says the same thing: configure the bump in the order bump settings sidebar on the right. If you start adding your own blocks below it on a bump that isn’t set to full screen, none of them will appear anywhere for a customer.
Where the Full Screen option lives
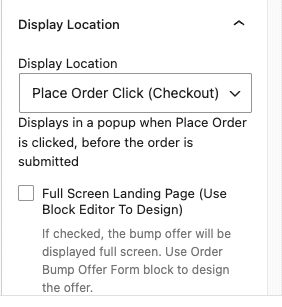
Open the Display Location panel in the sidebar. A checkbox labeled “Full Screen Landing Page” appears – but only for two display locations:
- Place Order Click (Checkout)
- Post Purchase One-Click (Thank You)
Choose any other display location (a checkout slot, the side cart, and so on) and the checkbox disappears entirely. There’s no way to turn on Full Screen for those locations – the standard checkbox-in-cart or button-in-list treatment is the only option there.
The checkbox is off by default on every new bump. Its help text reads: “Design the offer with blocks instead of the built-in layout. Add the Order Bump Offer Form block where the offer form should go.”
The editor doesn’t show a warning on every bump. It appears only once you have added blocks of your own to the canvas of a bump that won’t use them. On a Place Order Click or Post Purchase One-Click bump with Full Screen still off, it reads:
“Blocks are only used by full screen offers. Enable Full Screen Landing Page in the Display Location panel, then add the Order Bump Offer Form block where the offer form should go.”
On any other display location it reads: “Blocks are only used by full screen offers, available on Place Order Click and Post Purchase One-Click bumps. This bump uses the built-in layout.” Either way, the warning is the plugin telling you exactly what this page is about: don’t build anything in the canvas until this checkbox is on.
Extra requirements if you choose Post Purchase One-Click
Full Screen behaves identically in both locations, but Post Purchase One-Click has prerequisites that Place Order Click does not, and turning Full Screen on does not remove them. A post-purchase offer only reaches a customer when the store runs a payment gateway that registers one-click support, and the customer has a saved payment method. Payment Plugins for Stripe and Payment Plugins for PayPal register that support; WooCommerce’s own core Stripe and PayPal gateways do not. There is also a plan requirement, covered on Post-purchase one-click order bumps along with the full prerequisite list.
If no supported gateway is active, the editor shows an error as soon as you pick the location:
“Post Purchase One-Click bumps require a compatible payment gateway. We recommend using Place Order bumps when using non-compatible gateways.”
This is worth watching for with Full Screen in particular, because a finished canvas looks correct in the editor whether or not the offer can ever render. The design is not what gates it. If your gateway does not register one-click support, build the same offer as a Full Screen Place Order Click bump instead: it uses the identical block canvas and has no gateway requirement. See Supported payment gateways for One-Click Order Bumps for setup and how to request support for your gateway.
What actually happens on the frontend when you flip the switch
- Full Screen off: the checkout page or thank-you page fetches a small, pre-built product form from the plugin’s own API and drops it into a pop-up. Your block canvas is never requested or rendered.
- Full Screen on: the page instead fetches the order bump’s own WordPress content – the same way any page or post’s content is fetched – and renders whatever blocks you’ve placed in the canvas.
That’s the entire difference. Full Screen doesn’t change the offer logic, the discount, or the display rules – it changes which content source the frontend pulls from.
Visually, the “full screen” name is literal: the pop-up window itself resizes. In the normal (non-full-screen) mode the pop-up is capped at 840px wide and 80% of the viewport height, centered on the screen. With Full Screen on, the same pop-up expands to fill 100% of the width and 100% of the height, with no rounded corners – it behaves like a dedicated page rather than a modal window.
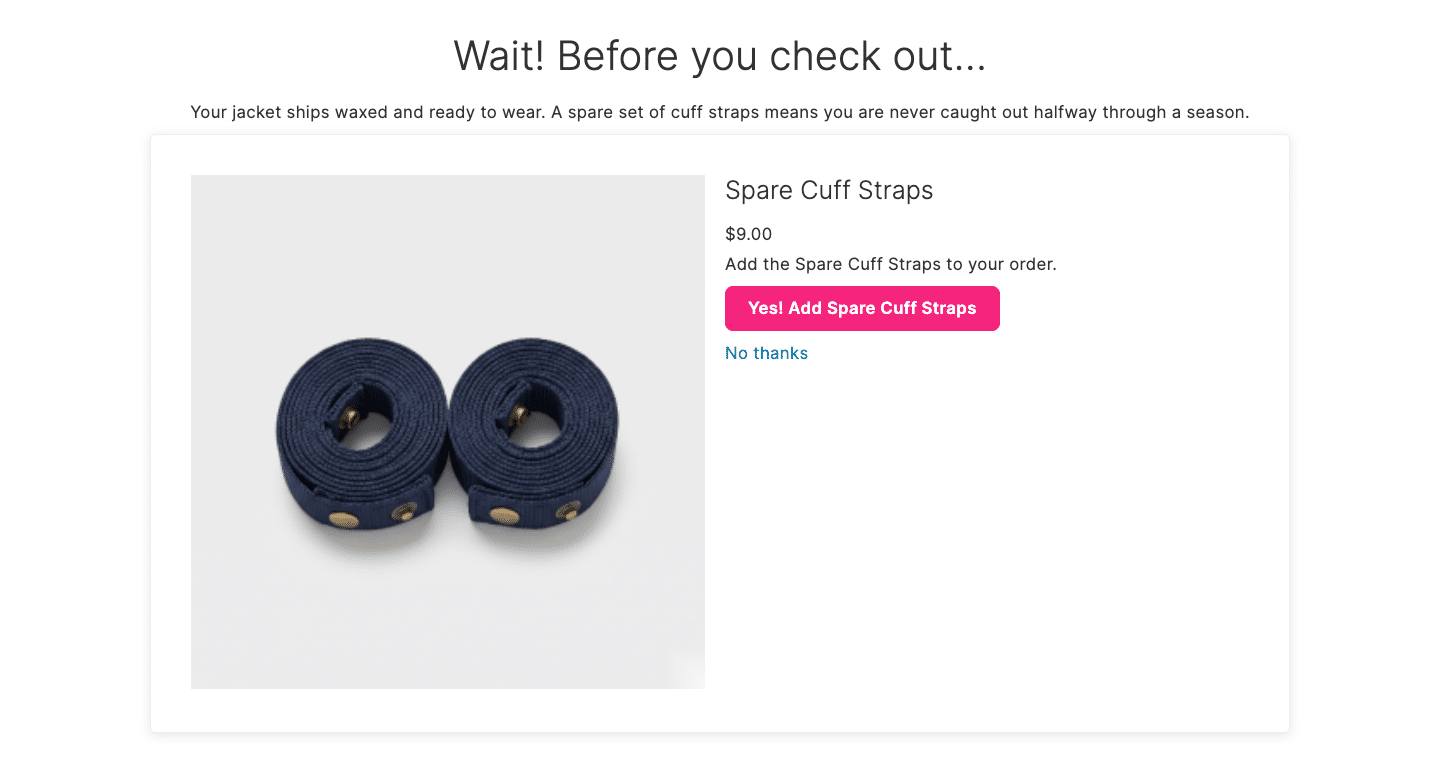
What the “Order Bump Offer Form” block actually lets you design
The help text under the Full Screen checkbox tells you to “Add the Order Bump Offer Form block where the offer form should go.” It’s important to understand what this block is, because it is easy to expect more from it than it delivers.
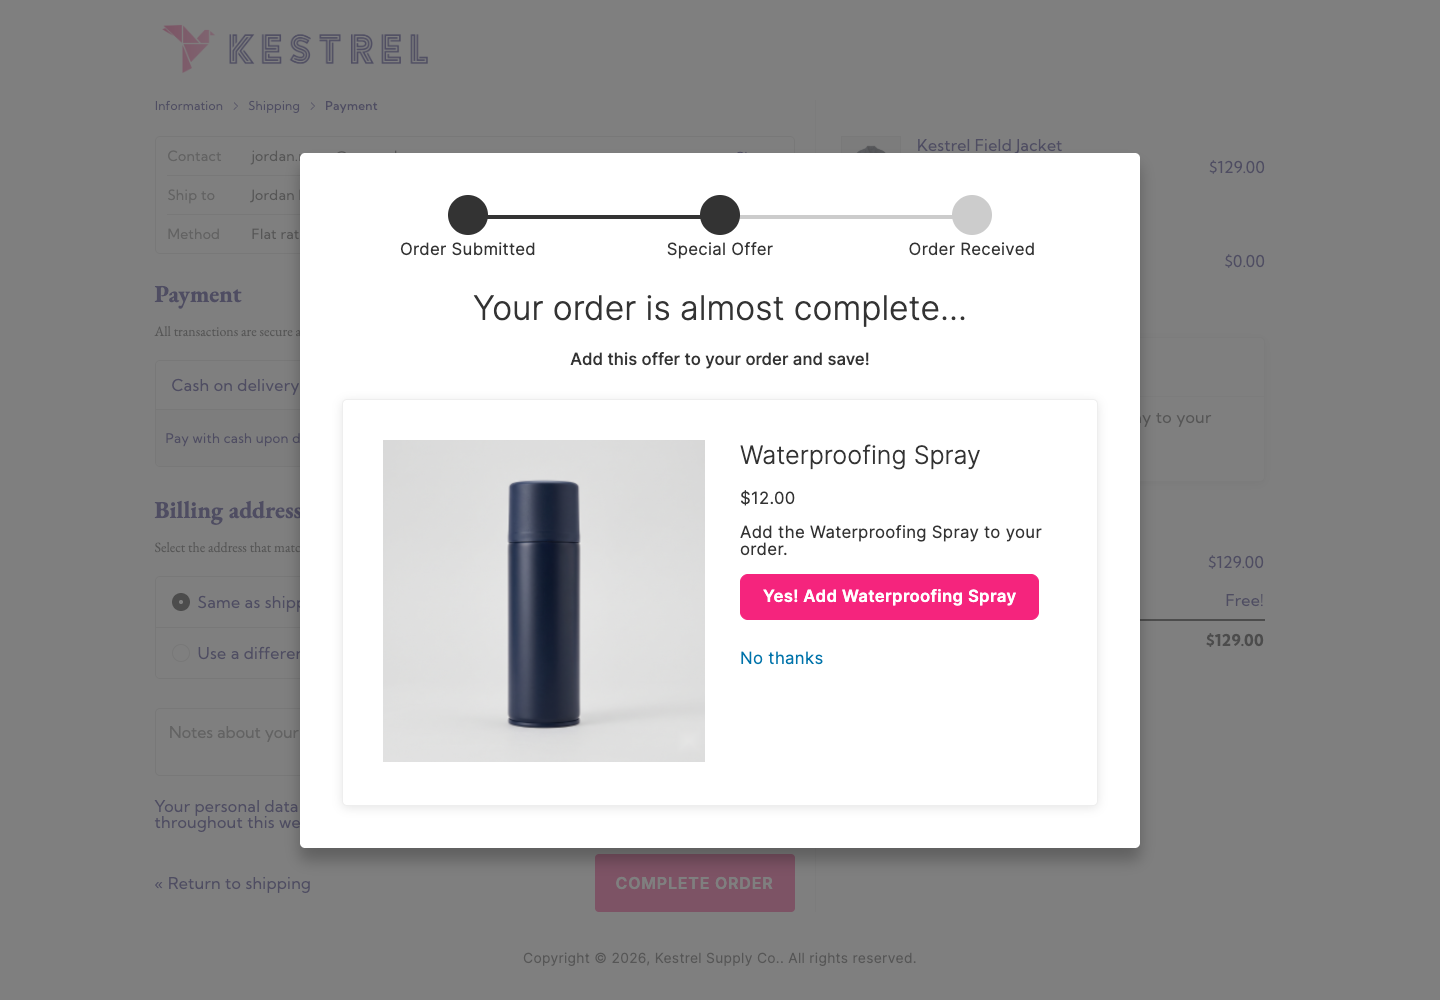
The Order Bump Offer Form block has no design options of its own. It has no settings, no text fields, no attributes to fill in. What it does is render – live, exactly as a customer would see it – the same offer form the plugin already builds from your sidebar fields: the product image and price, the Offer Description text, the Offer Acceptance Button Label, and the Modal Offer Rejection Link Text (the decline link). Those come from the exact same fields you’d set for a non-full-screen bump. The block is not a place to type new copy – it’s a placeholder that shows the form the sidebar has already assembled, and lets you position it inside a page you otherwise build with ordinary blocks (headings, images, columns, spacers, and so on).
In practice, that means:
- You can design everything around the offer – a hero image, custom headline, testimonials, a countdown, extra product photos, whatever layout you want – using standard WordPress blocks.
- You cannot redesign the offer form itself (its layout, its fields, or its markup) through this block. The accept button’s label and the description text still come from the Offer Language panel, not from anything typed into the canvas.
- The block must be added by you. Nothing auto-inserts it. If you enable Full Screen and publish a page with no Order Bump Offer Form block anywhere in the canvas, there is no accept/decline mechanism on that page at all – customers would see whatever else you built, with no way to take or decline the offer.
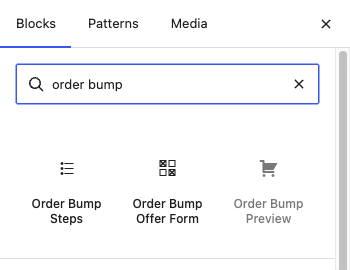
A companion “Order Bump Steps” block is also available if you want to recreate the small progress indicator (Order Submitted → Special Offer → Order Received) that the standard pop-up shows automatically – full screen pages don’t get that stepper for free.
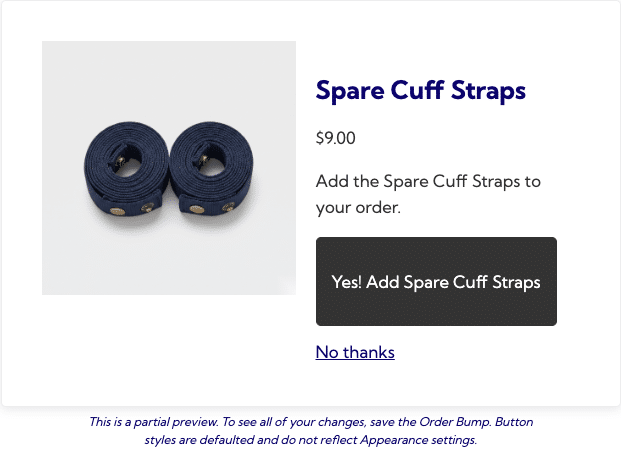
One field pair that quietly stops working in full screen
The Place Order Modal Heading and Place Order Modal Subheading fields (in the Offer Language panel, visible for the same two display locations) only apply to the standard pop-up. When Full Screen is on, the plugin fetches your bump’s raw content directly – it never passes through the code that adds the heading and subheading around the form. If you fill in a heading and subheading and then turn on Full Screen, that text simply won’t appear anywhere. If you want a heading on your full-screen page, add it yourself as an ordinary Heading block in the canvas.
Everything else in the Offer Language panel – Offer Acceptance Button Label, Offer Description, and Modal Offer Rejection Link Text – is rendered by the Order Bump Offer Form block regardless of Full Screen, because both paths call the same form-building code.
Building a full screen order bump, step by step
- Create or open an order bump and, in the Display Location panel, set the location to Place Order Click (Checkout) or Post Purchase One-Click (Thank You).
- Tick Full Screen Landing Page. If you had already added blocks, the warning at the top of the editor disappears.
- Set your offer product, discount, and the Offer Language fields (Offer Description, Offer Acceptance Button Label, Modal Offer Rejection Link Text) as you normally would – these still control what the offer form says.
- In the block canvas, insert the Order Bump Offer Form block wherever you want the actual accept/decline form to sit. Build the rest of the page around it with standard blocks.
- Publish and preview the bump to confirm the layout and the form both appear as expected.