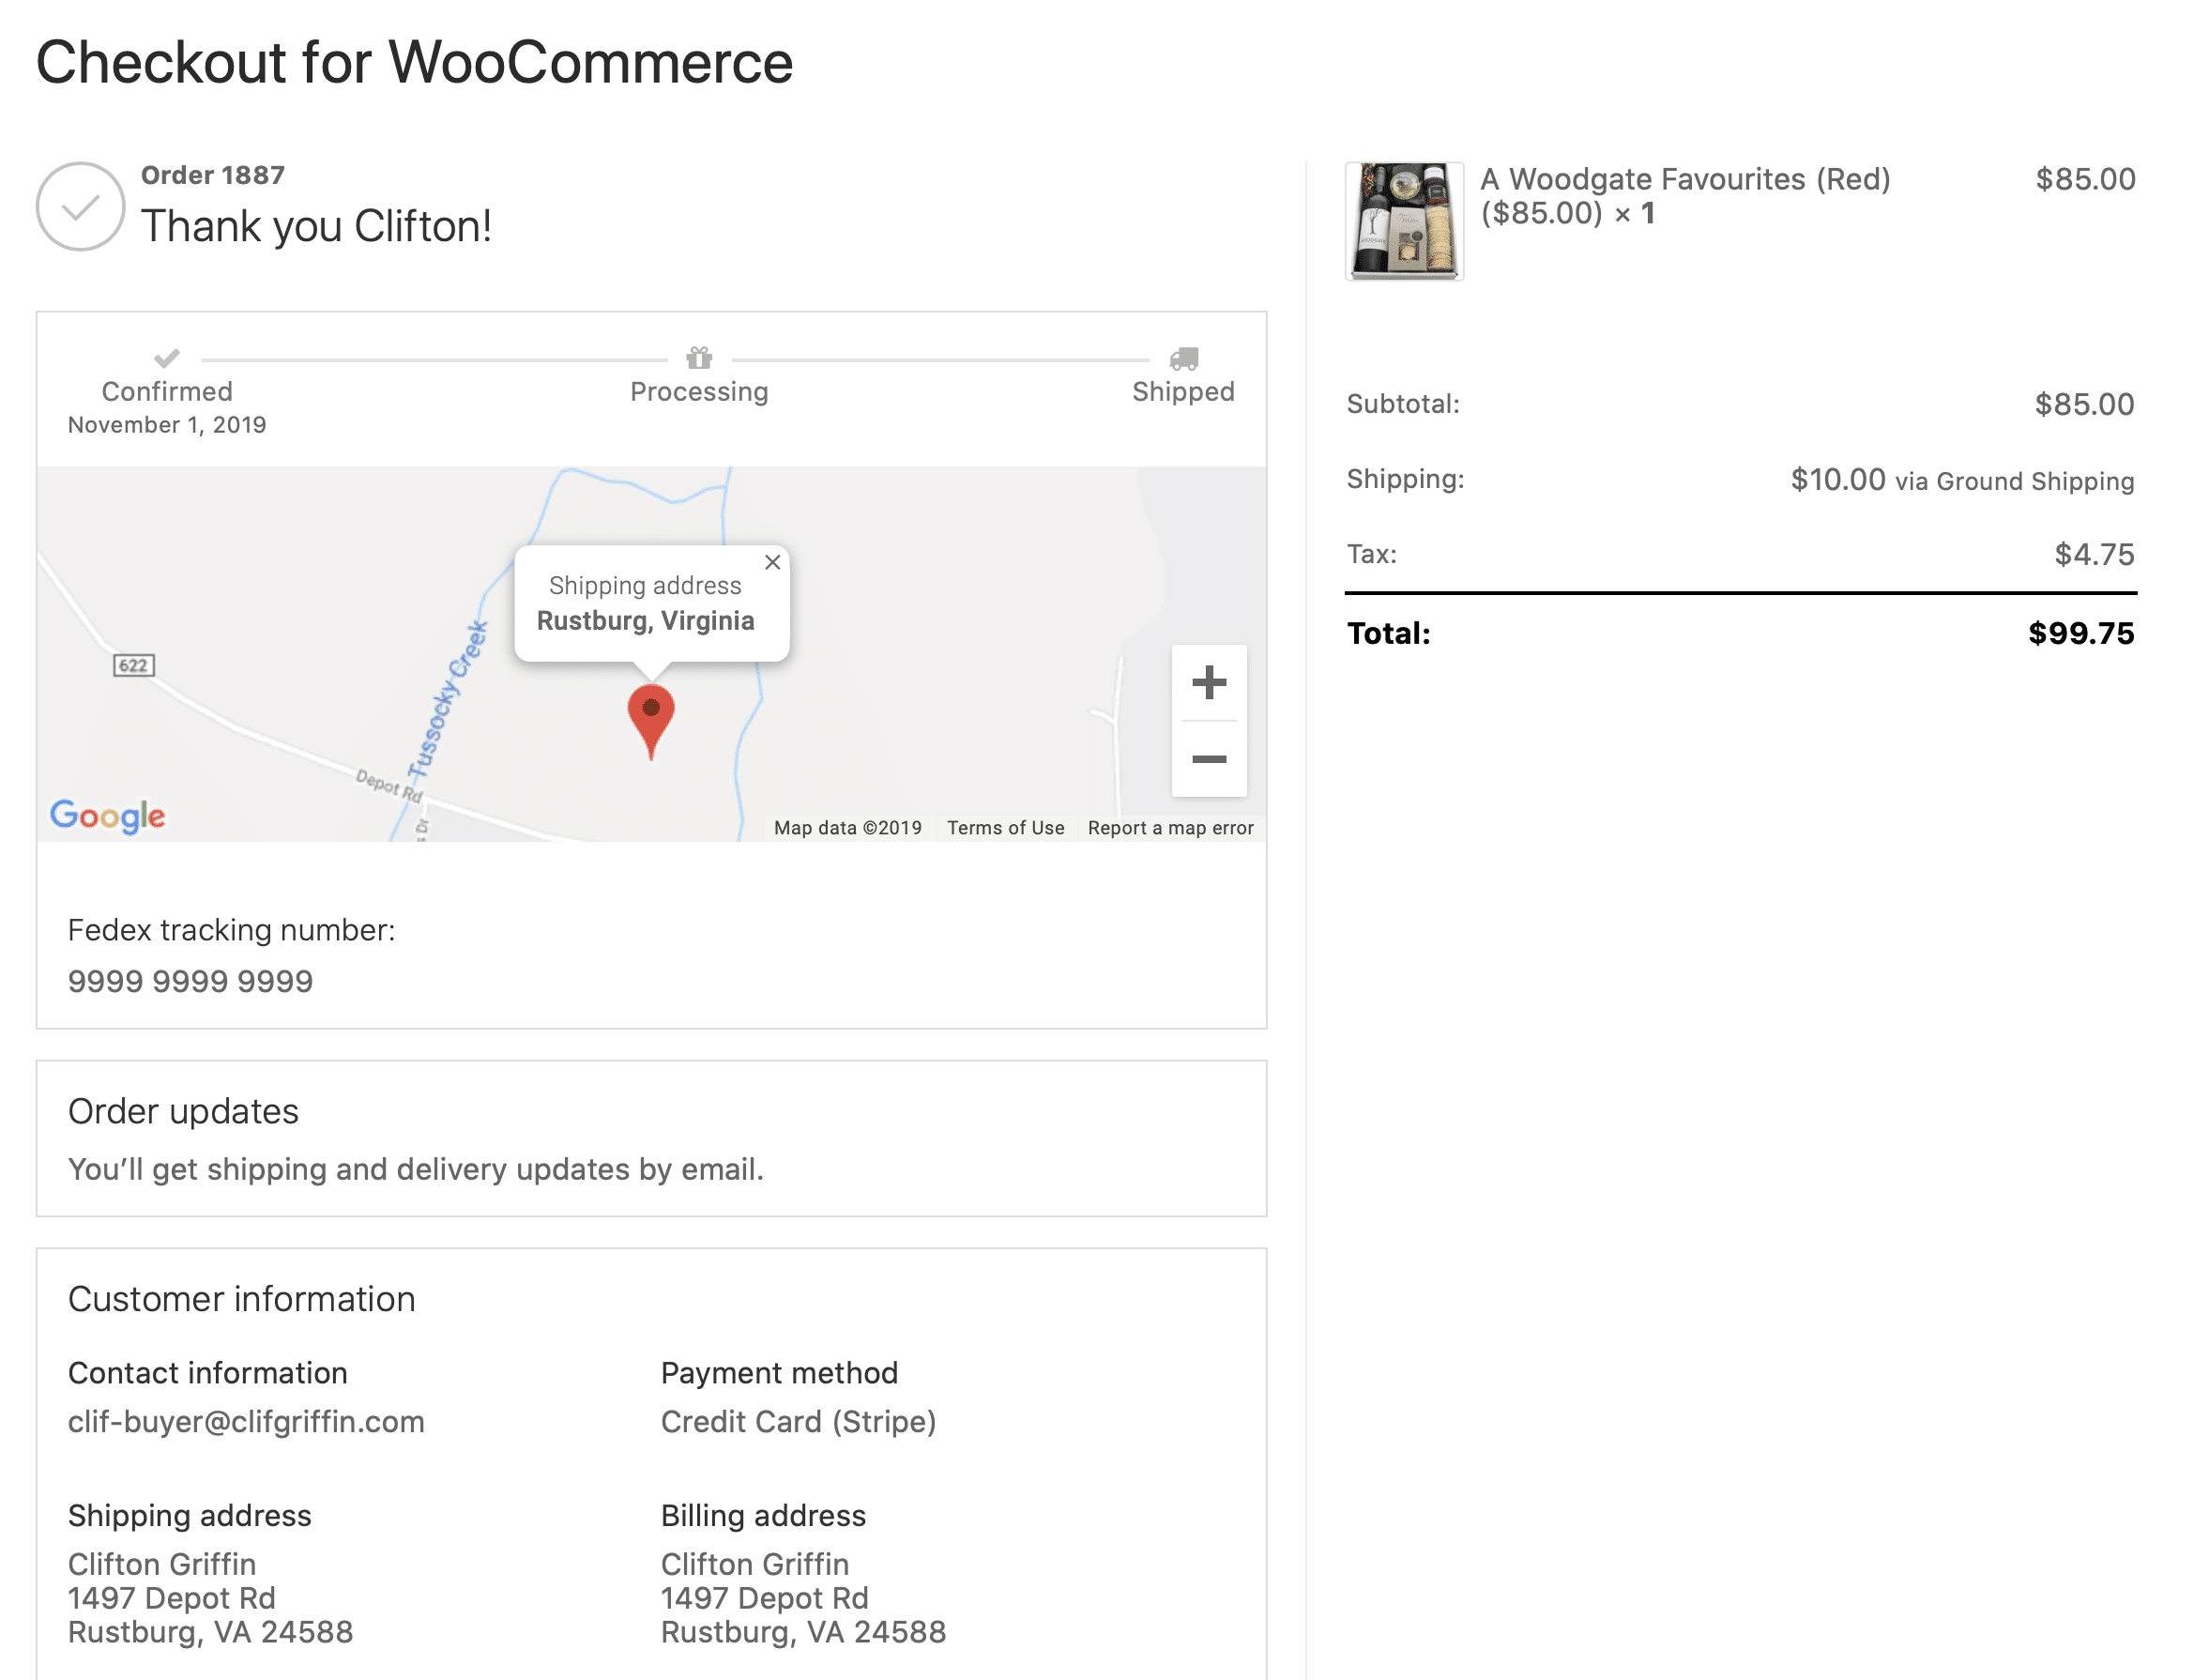
The Thank You page feature replaces the order received page with a beautiful design that closely resembles the checkout page. This same template is used for viewing orders from My Account. It looks like this:
There are a number of configuration steps but most are optional and it will work pretty basically out of the box.
For a complete overview of why you might want to customize your thank you page—including post-purchase upsells, conversion tracking, and URL customization—see WooCommerce Thank You Page: Setup, Customization & Conversion Tracking.
Please note: This premium feature is available to Plus (Legacy), Pro, and Agency license holders.
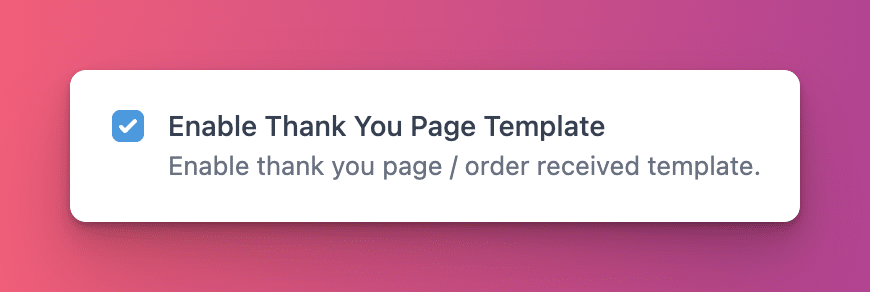
Step 1: Enable Thank You page
Go to WP Admin > CheckoutWC > Pages > Thank You and toggle the checkbox next to ‘Enable support for thank you page.’
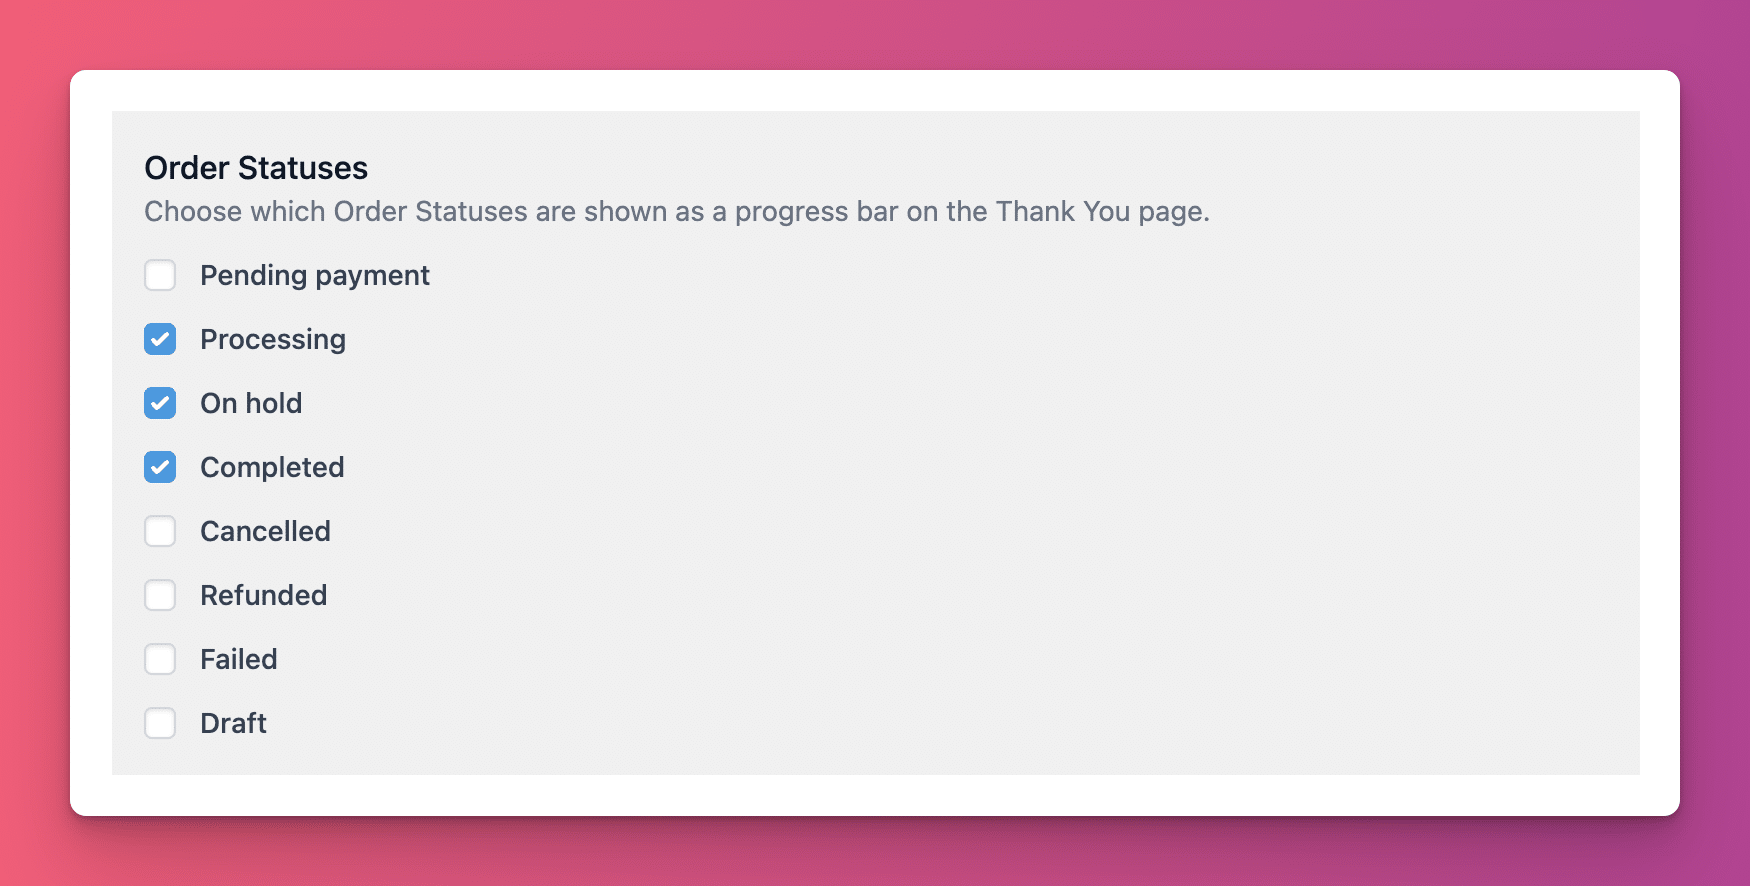
Step 2: Configure order statuses (optional)
When you enable the Thank You Page in Step 1, you’ll notice a new option appear: Order Statuses
This allows you to define which statuses show up in the status row:
To select the order statuses you want to show, pick them from the list and click Save Changes:
Common configurations include:
- Physical products: Processing → Shipped → Completed
- Digital products: Processing → Completed
- Custom workflows: Add any statuses from WooCommerce Order Status Manager or other plugins that register custom order statuses
Step 2a: Sorting order statuses
The sort order of these statuses depends on two things:
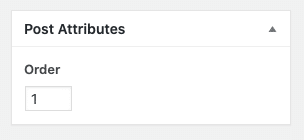
- If you are using WooCommerce Order Status Manager, the order is determined by the order you configure in the status settings. The Post Attributes setting allows you to define an order. These are ordered from least (0 0) to greatest (a very large number)
- If you are NOT using WooCommerce Order Status Manager, you’ll have to add some custom code to re-order the statuses into the order you prefer. This is beyond the scope of support, but the filter you should use is: wc_order_statuses
It is not always necessary to resort the statuses, the order they appear in the dropdown is the order they will be listed on the checkout page.
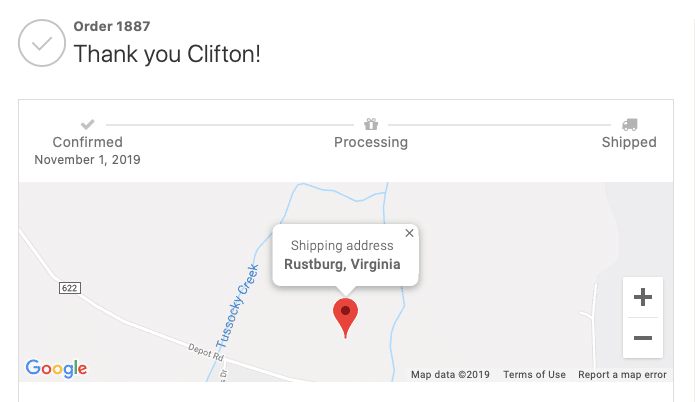
Step 3: Configure map embed (optional)
The thank you page includes an optional map embed that looks like this:
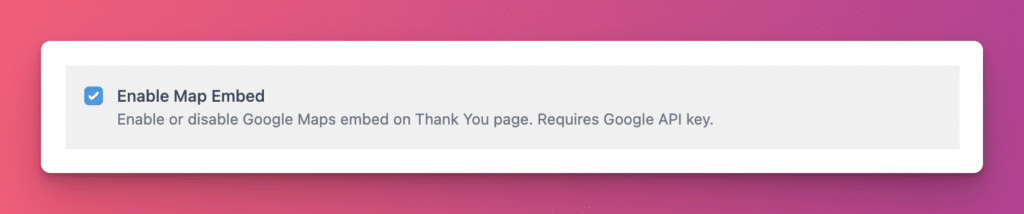
To enable the map, you need to toggle the setting and provide a Google API Key.
To enable the setting, toggle ‘Enable map embed’ under Settings > Pages > Thank you:
The Google API Key is shared with the Address Autocomplete setting. If you already have Address Autocomplete enabled, this will save a bit of time.
Configuring Google API Keys can be a bit challenging, to help guide you in the process we have created a separate doc: How to get and configure your Google API key for use with CheckoutWC. If you need any help with this step, please don’t hesitate to reach out to our support team.
Step 4: Configure order status icons (optional)
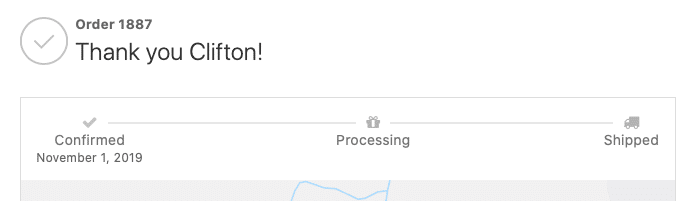
The order status row allows you to include an icon for each order status as seen here:
If you’re using WooCommerce Order Status Manager, you can easily setup your icons. Go to WooCommerce > Settings > Order Statuses and click on the status you want to change. Then select your icon like this:
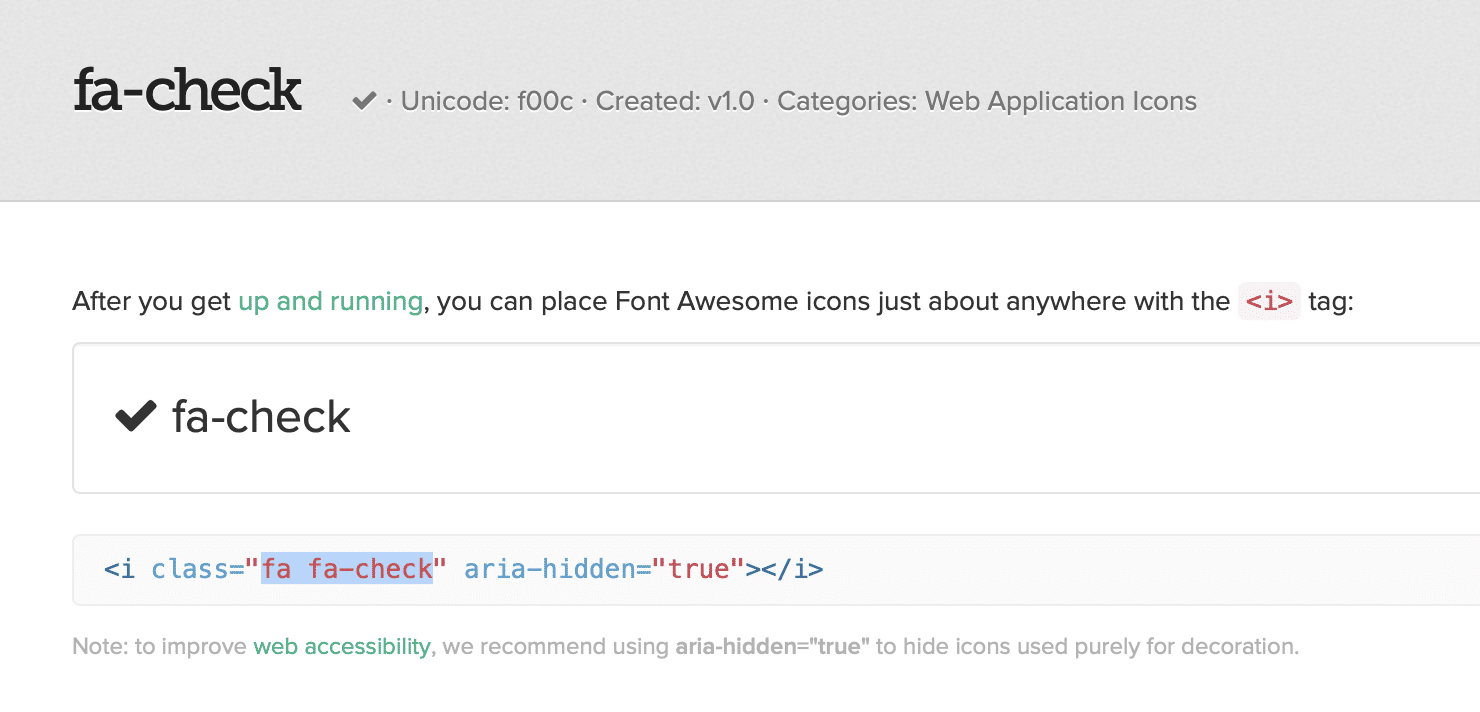
NOTE: Due to the complexity of supporting other icon packages, we currently only support FontAwesome. The icon collection we load is FontAwesome 4.70 which you can browse here: https://fontawesome.com/v4.7.0/
How to use icons if you don’t have WooCommerce Order Status Manager
If you don’t have WooCommerce Order Status Manager, you can still configure icons but it will take a little bit of code. The icon library you can use is FontAwesome 4.7.0. You just need to lookup the desired icon and then provide the icon classes. Here’s a quick example that shows you how to use the check mark icon for the Pending status:
You’ll notice you have to provide both classes from FontAwesome, which you can see highlighted here:
Using a different font library
Because the above filter just returns a class, you can theoretically use any icon library that uses an I element with specific classes. You would just need to setup the classes using the above filter and then add the font library to WP Admin > CheckoutWC > Appearance > Design > Custom CSS.
Using the Thank You template for viewing orders
We also allow you to use the Thank You template for viewing orders, from My Account or elsewhere.

Enable this option to create a consistent experience for your customers. When they view past orders from their account, they’ll see the same polished layout with the order status progress bar instead of the default WooCommerce order view.
Related resources
- WooCommerce Thank You Page: Setup, Customization & Conversion Tracking — Complete overview of features, use cases, and conversion tracking
- Post-purchase one-click order bumps — Add upsells to your thank you page
- How to get and configure your Google API key — Required for map embed